3 min read
Building Culture That Works: Cobb Tech Named One of VA's Best
Cobb Technologies has been honored as one of the 2025 Best Places to Work in Virginia by Virginia Business and Best Companies Group. This prestigious...
5 min read
 Travis Brigham
Aug 13, 2020 2:01:56 PM

The text below is a transcript of the video.
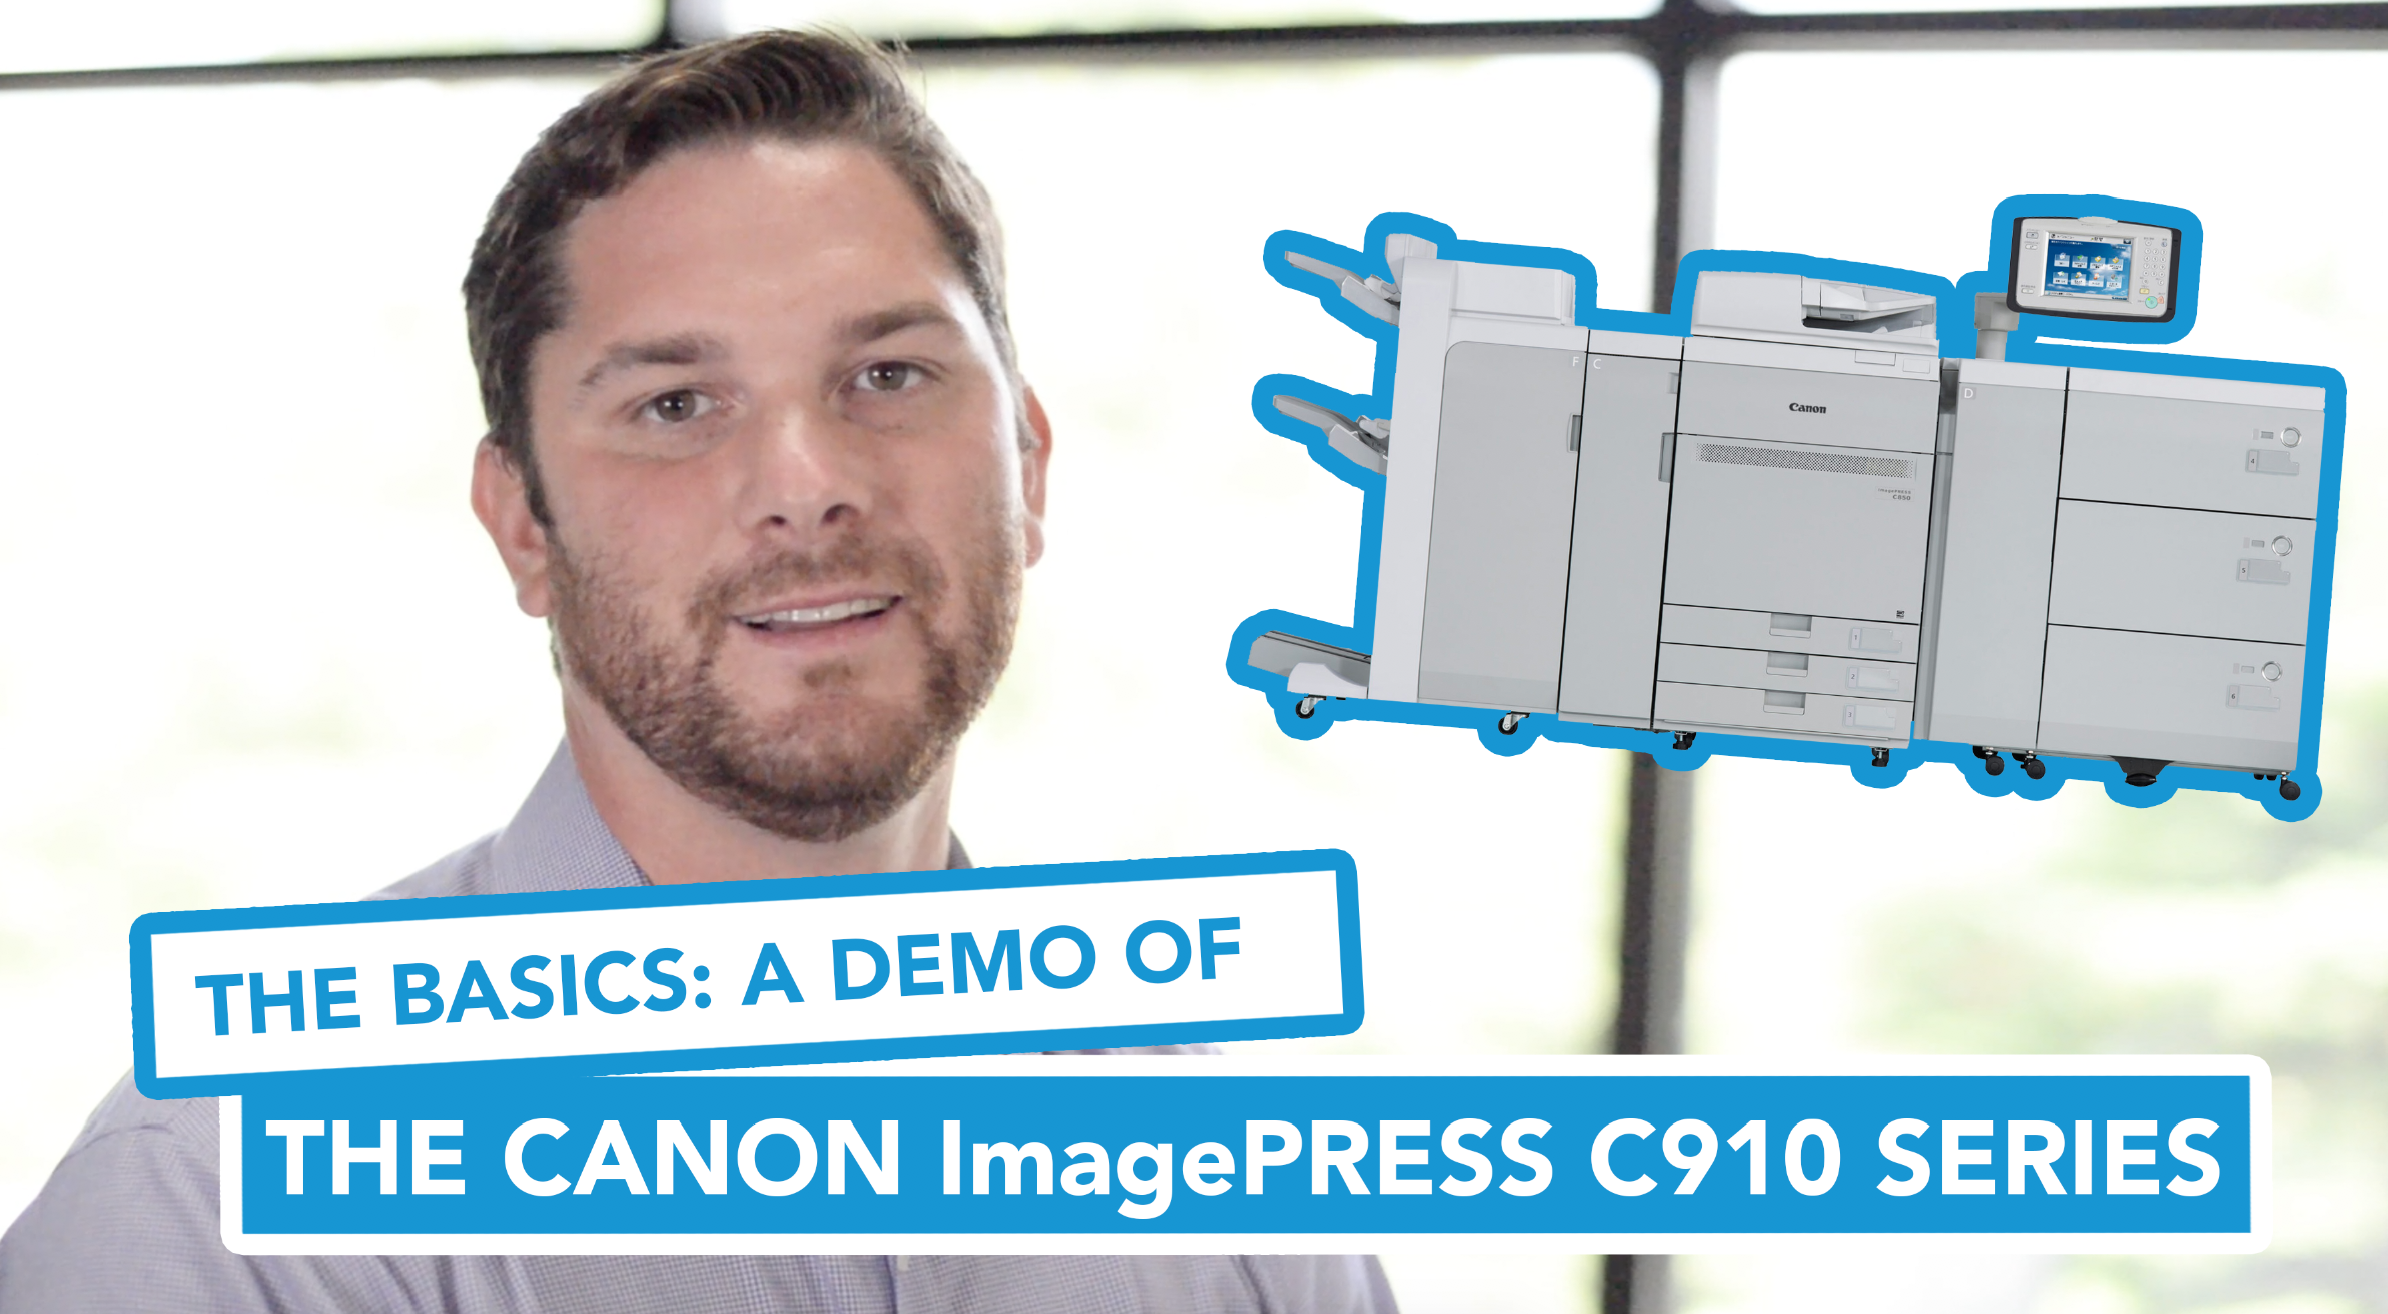
Hey guys, Travis here with Cobb Technologies, and today we’re going to go over the basic functionalities of the Canon c910 series. This includes the c910, the 810, and the 710.
So the first thing that we’re going to go over are your paper trays. We’re also going to go over the guides and how to adjust them and to be able to set them to the size paper that you have in the drawer.
In the tray you have fully adjustable guides that will allow you go all the way to 13 inches by 19 inches. Right now we have paper that’s 8.5 inches by 11 inches in the tray. You also have indicators on the bottom of the tray that will tell you exactly where to put the guides, depending on the size of the paper that you have. These indicators will go all the way down to number 10 envelopes.
So moving on, we’re going to go over the pod deck. You’re going to want to se the pod deck if you are running thinker paper. It’s also great for running jobs where you’re having to use a lot of media as the trays are able to hold a lot more than the shallower trays under the machine. These trays have guides that are also fully adjustable to 13 inches by 19 inches. You’ll see your two little blue levers here and that’s what allows you to move your guides in and out and also adjust for 13 by 19. When you close the drawer, you’ll see a little light indicator not he drawer flash on and off - this means the tray is auto-detecting what size paper you have in there.
So now that we've gone over loading the paper, let's go over how to map that paper to your paper trays. Start by hitting the Status Monitor/Cancel button. That will bring you to this screen where you will then click on the Paper. You will click which tray you want, click on Paper Settings, and then here you’ll click on Paper Tray One to select to the package of paper you added. This will tell you what type of paper you’re inputting into the tray. So you just want to match this to the specifications on your package of paper. Then just click OK and that tray will have been set. Once you’re done, click OK again and you can go through each paper tray and set the paper for those trays. Once your tray or your paper has been set you are ready to start copying or printing.
So let’s go over a few things in the main menu. Go to your Copy screen and from here your machine will be defaulted to black and white. The reason we do that is so that you can avoid accidentally misprinting something in color that was actually meant to be in black and white. If you want to copy in color, select Color and hit Auto. You want to choose auto so that if you do happen to misprint something that’s in black and white, and not color, you will be charged accordingly based upon your usage.
Once you’ve chosen your color, just hit OK. Then you’ll see the field change to AUTO. This means it’s going to detect color or black and white in your documents. Then here you’ll identify the number of copies you want to make and then select your paper. It will be set to Auto so depending on what type of paper you’re copying, it will select the drawer that that paper matches.
Moving forward, you have your finishing options. Here you can choose whether to collate or group and then you can also choose how you want to staple your documents, whether it’s double stapled or stapled in the corner. You can also choose which corner you staple. You can also choose the saddle stitch option if you want to build a booklet.
Once you’ve selected your settings, click OK and you’ll see that it’s highlighted yellow, letting you know that you’ve selected a finishing option. You will then need to let the machine know if you are doing two-sided, if you're not doing two-sided you don't need to worry about this field. If you are doing two-sided, let it know that it's a two-sided document and that you want it to copy to two-sided. Again, you will see that it's highlighted yellow letting it know that you have selected a option under there. If you want more options you have your option button here and you have four pages of options that you can go through. Depending on what you've selected here, some of these will be blacked out. If you hit your reset button you will see that those yellow buttons are gone and you click option and everything is then highlighted for you to be able to select an option.
There are many features on the machine that we can go into more detail on, but in this video we’ll just b going over the basics to ensure that you guys can get up and running.
Lastly, you have the interrupt button, so if you need to come and make one copy of something and somebody’s already printing a large job, just hit your interrupt button to stop the current job so that you can perform your own job. Once you’re done, it’ll go back to printing the original job that was running.
So now that we've gone over the functionality of the machine, let's go over a little bit about taking care of your machine.
The first thing we’re going to go over is toner. Your toner is handled here - the cool thing about canon is that canon will not release your toner cartridges until they are completely emptied. Once they are completely emptied, your door will open, you will be able to slide your toner cartridge out and then slide in the new cartridge. So, you have your yellow, your magenta, your cyan, and then your black.
Along with the toner, you have your waste toner cartridge. The waste toner cartridge is located in bin C. To replace that, simply open he door, and pull on the blue handle that will draw out the waste toner bottle. Once the bottle is full, you’ll put the cap on it and replace it. You’ll then get your new bottle, place it back on the platform, and push it back into the machine.
Moving on to the finisher: we will go over how to change the staples in your finisher. First, let’s open it up. If you have a staple finisher your staples would be located right there. All you have to do is just pop that out; all you’re replacing is the clear plastic part here. You don’t want to throw the actual assembly away. I’m not going to take this one out to keep all the staples from spilling out, but all you’ll do is pop this plastic piece off, put in a new cartridge, and then slide it back into place.
Now for your booklet finisher. You’re going to grab the handle here, slide your booklet finisher out, and you’re going to see that your tw staple cartridges are right here. For these, all you’re going to do is just pull them or wars and you’ll have your staple cartridge out. Again, you don’t want to throw away the actual assembly piece. Once you replace the plastic piece it will just pop right back into place. Once you're done just slide the drawer back in.
The last little note about staples is that depending on the size of your book or the amount of sheets you’re stapling your staple trimmer will trim the staples to ensure that they’re just the right size and you don’t have any excess material. The machine will alert you to when the cartridge gets full, so just remember to empty it out when the time comes.
So that concludes our video! If you have any follow-up questions, please feel free to reach out to us at Cobb - we will be happy to help! Thanks for watching.

3 min read
Cobb Technologies has been honored as one of the 2025 Best Places to Work in Virginia by Virginia Business and Best Companies Group. This prestigious...

5 min read
Cobb Technologies is honored to hold the SWaM (Small, Women-owned, and Minority-owned Business) certification, awarded by the Commonwealth of...

5 min read
Every year, thousands of Veterans transition from military service to civilian careers in Virginia, bringing invaluable skills and experiences to...