3 min read
Building Culture That Works: Cobb Tech Named One of VA's Best
Cobb Technologies has been honored as one of the 2025 Best Places to Work in Virginia by Virginia Business and Best Companies Group. This prestigious...
3 min read
 Craig Jones
Mar 19, 2020 3:45:00 PM
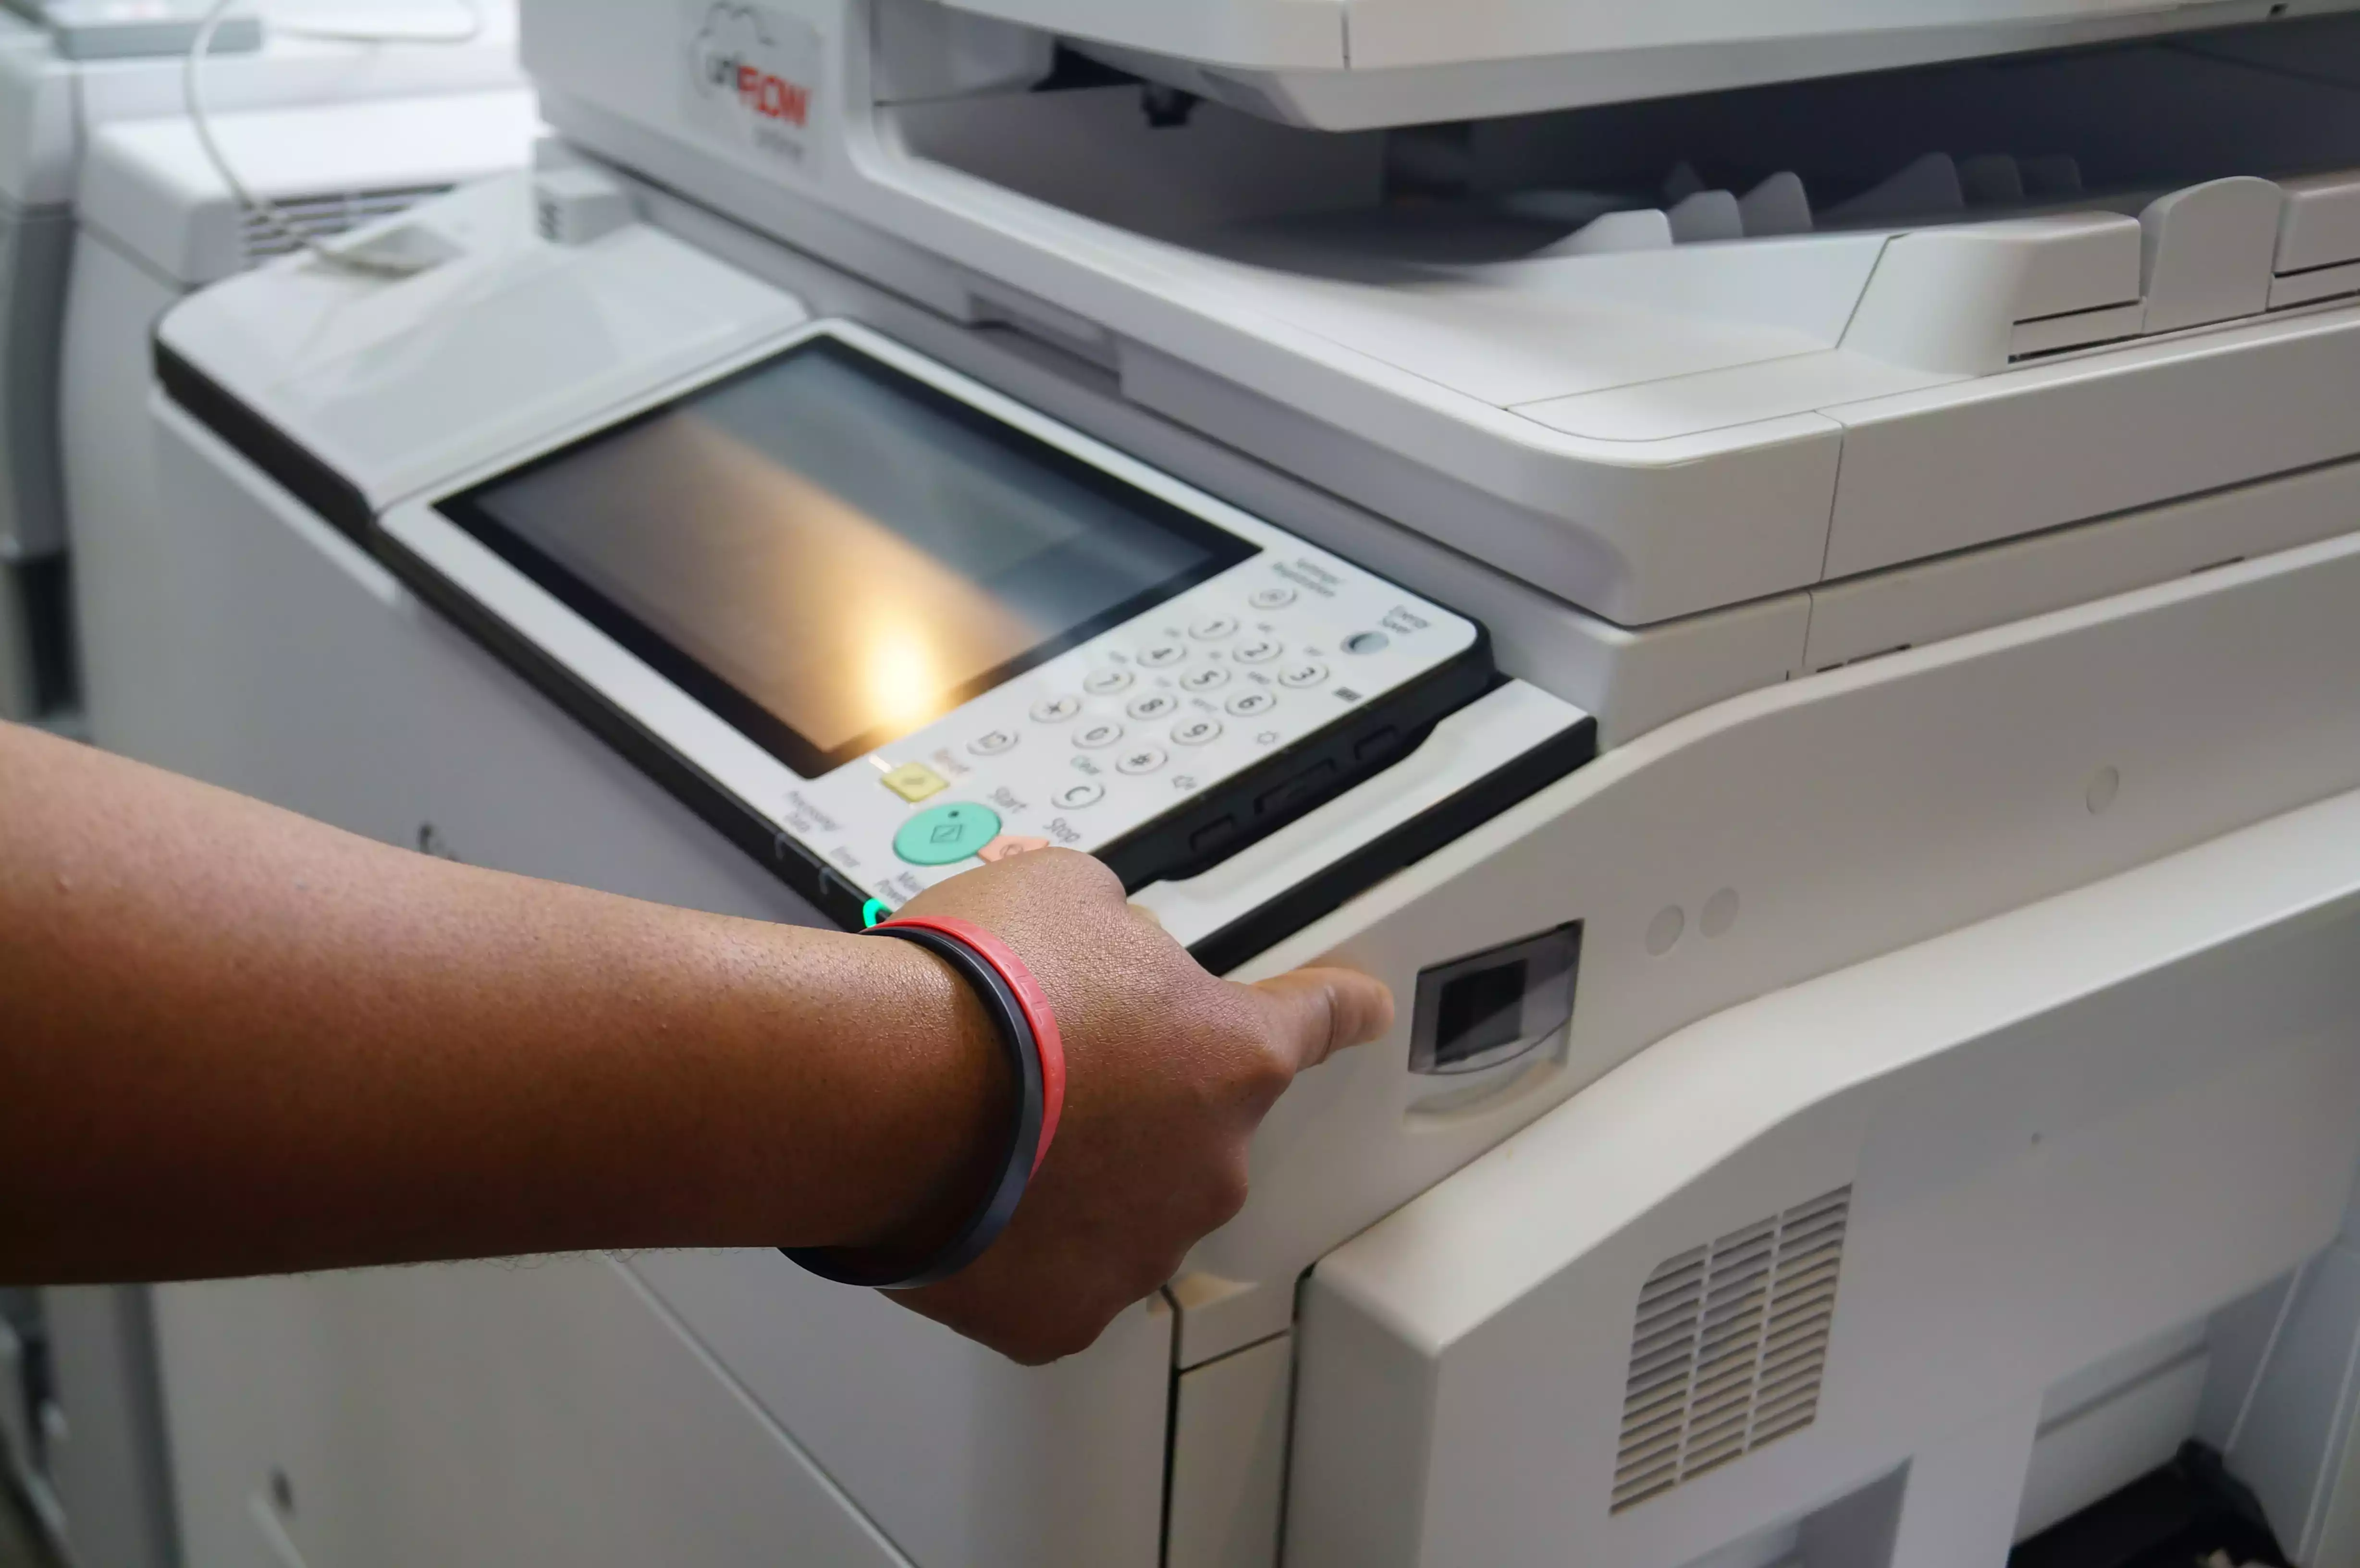
It’s no secret that things can go wrong with your Multi-Function Printer (MFP). Paper jams, error codes, lines showing up on copies… you’re probably familiar with a few of these.
Usually, a situation such as this is the perfect time to call up your service provider, and have a technician come out to diagnose and fix the problem. However, due to COVID-19, it’s often in your best interest to only allow essential personnel into your office.
Because of this, it’s important to have the knowledge necessary to diagnose and fix common issues that may arise yourself.
Below, you’ll find guides and fixes for common issues you might experience with your MFP:
No matter what type of MFP you’re using, whether it’s Canon, Konica Minolta, Kyocera, or any other, this is the most common problem users experience with their MFP; finding thick lines showing up on a copied or scanned page, even when the original lacks this line.
It may be an annoying problem to deal with, but it’s a simple issue to diagnose: the slit glass on your MFP is dirty. You can find the slit glass on the left side of your MFP, underneath the scanning/copying tray.
Note: If you’re experiencing lines that are showing up on prints, and not copies or scans, this is a problem that requires a service call.
When cleaning your slit glass, you can use any cleaning spray, such as Windex. Don’t spray the cleaning solution directly onto the slit glass, however — spray it directly onto the rag you’re using for cleaning. This prevents any moisture from getting into your MFP.
There is also slit glass in the lid of your MFP (called the backside), so a line may be originating from that slit glass as well — this is a much rarer occurrence than the front slit glass, however.
Note: While boxed cleaning wipes are fine to use, make sure they are not dripping — if so, you’ll need to wring them out before wiping the slit glass. This will prevent any moisture from getting into your MFP.
When experiencing paper jams, you’ll want to open the particular tray that’s experiencing the jam. The first thing you’ll want to check is the paper guides — loose paper guides are the most common cause of paper jams. Luckily, this is an easily-diagnosed problem.
Simply check to see if there is any wiggle-room for the paper in the tray; if paper guides aren’t holding the paper tightly in place, overtime the paper will move towards the back of the tray, eventually reaching a position where it causes a paper jam.
Sometimes, when the paper moves in the tray due to loose paper guides, the mis-alignment will cause the error message “load correct paper size” to appear. This can also cause copies and prints to print crookedly. All of these issues can be solved by keeping both the side and backside paper guides tight, in order to prevent the paper from moving.
Note: It’s best practice to give the paper guides a little shake after they’ve been set correctly — this helps ensure that they’re locked in, and won’t move during use.
Another common cause of paper jams is the paper itself being loaded in a way that causes it to become misaligned. Paper can ride up the side of a tray, or even catch a corner and fold in on itself. These issues are most common on large capacity trays. The easiest way to avoid this is to split the ream up into sections, and load it in individual chunks.
Note: It’s best practice to fan paper before placing it in the tray. This helps avoid paper becoming caught on itself.
Unfortunately, if you’re experiencing fax problems, there’s not much a technician can do, other than check the physical fax line itself. By calling your fax service provider, you’ll be able to have them actually test your connection quality, and they will be more likely to diagnose and fix the issue you’re experiencing.
If your fax provider has run a check, and the problem is not on their end, but rather with the machine itself, a technician will be required to come out and diagnose the issue.
There’s a reason the question “Have you tried turning it off and on again?” has become synonymous with IT help desks. Often, this simple fix solves the problem. If you’re experiencing an error code, you might be able to fix it by switching off your machine. In order to do so, you’ll need to know where your power switch is, which will vary depending on the model, make, and age of your Multi-Function Printer.
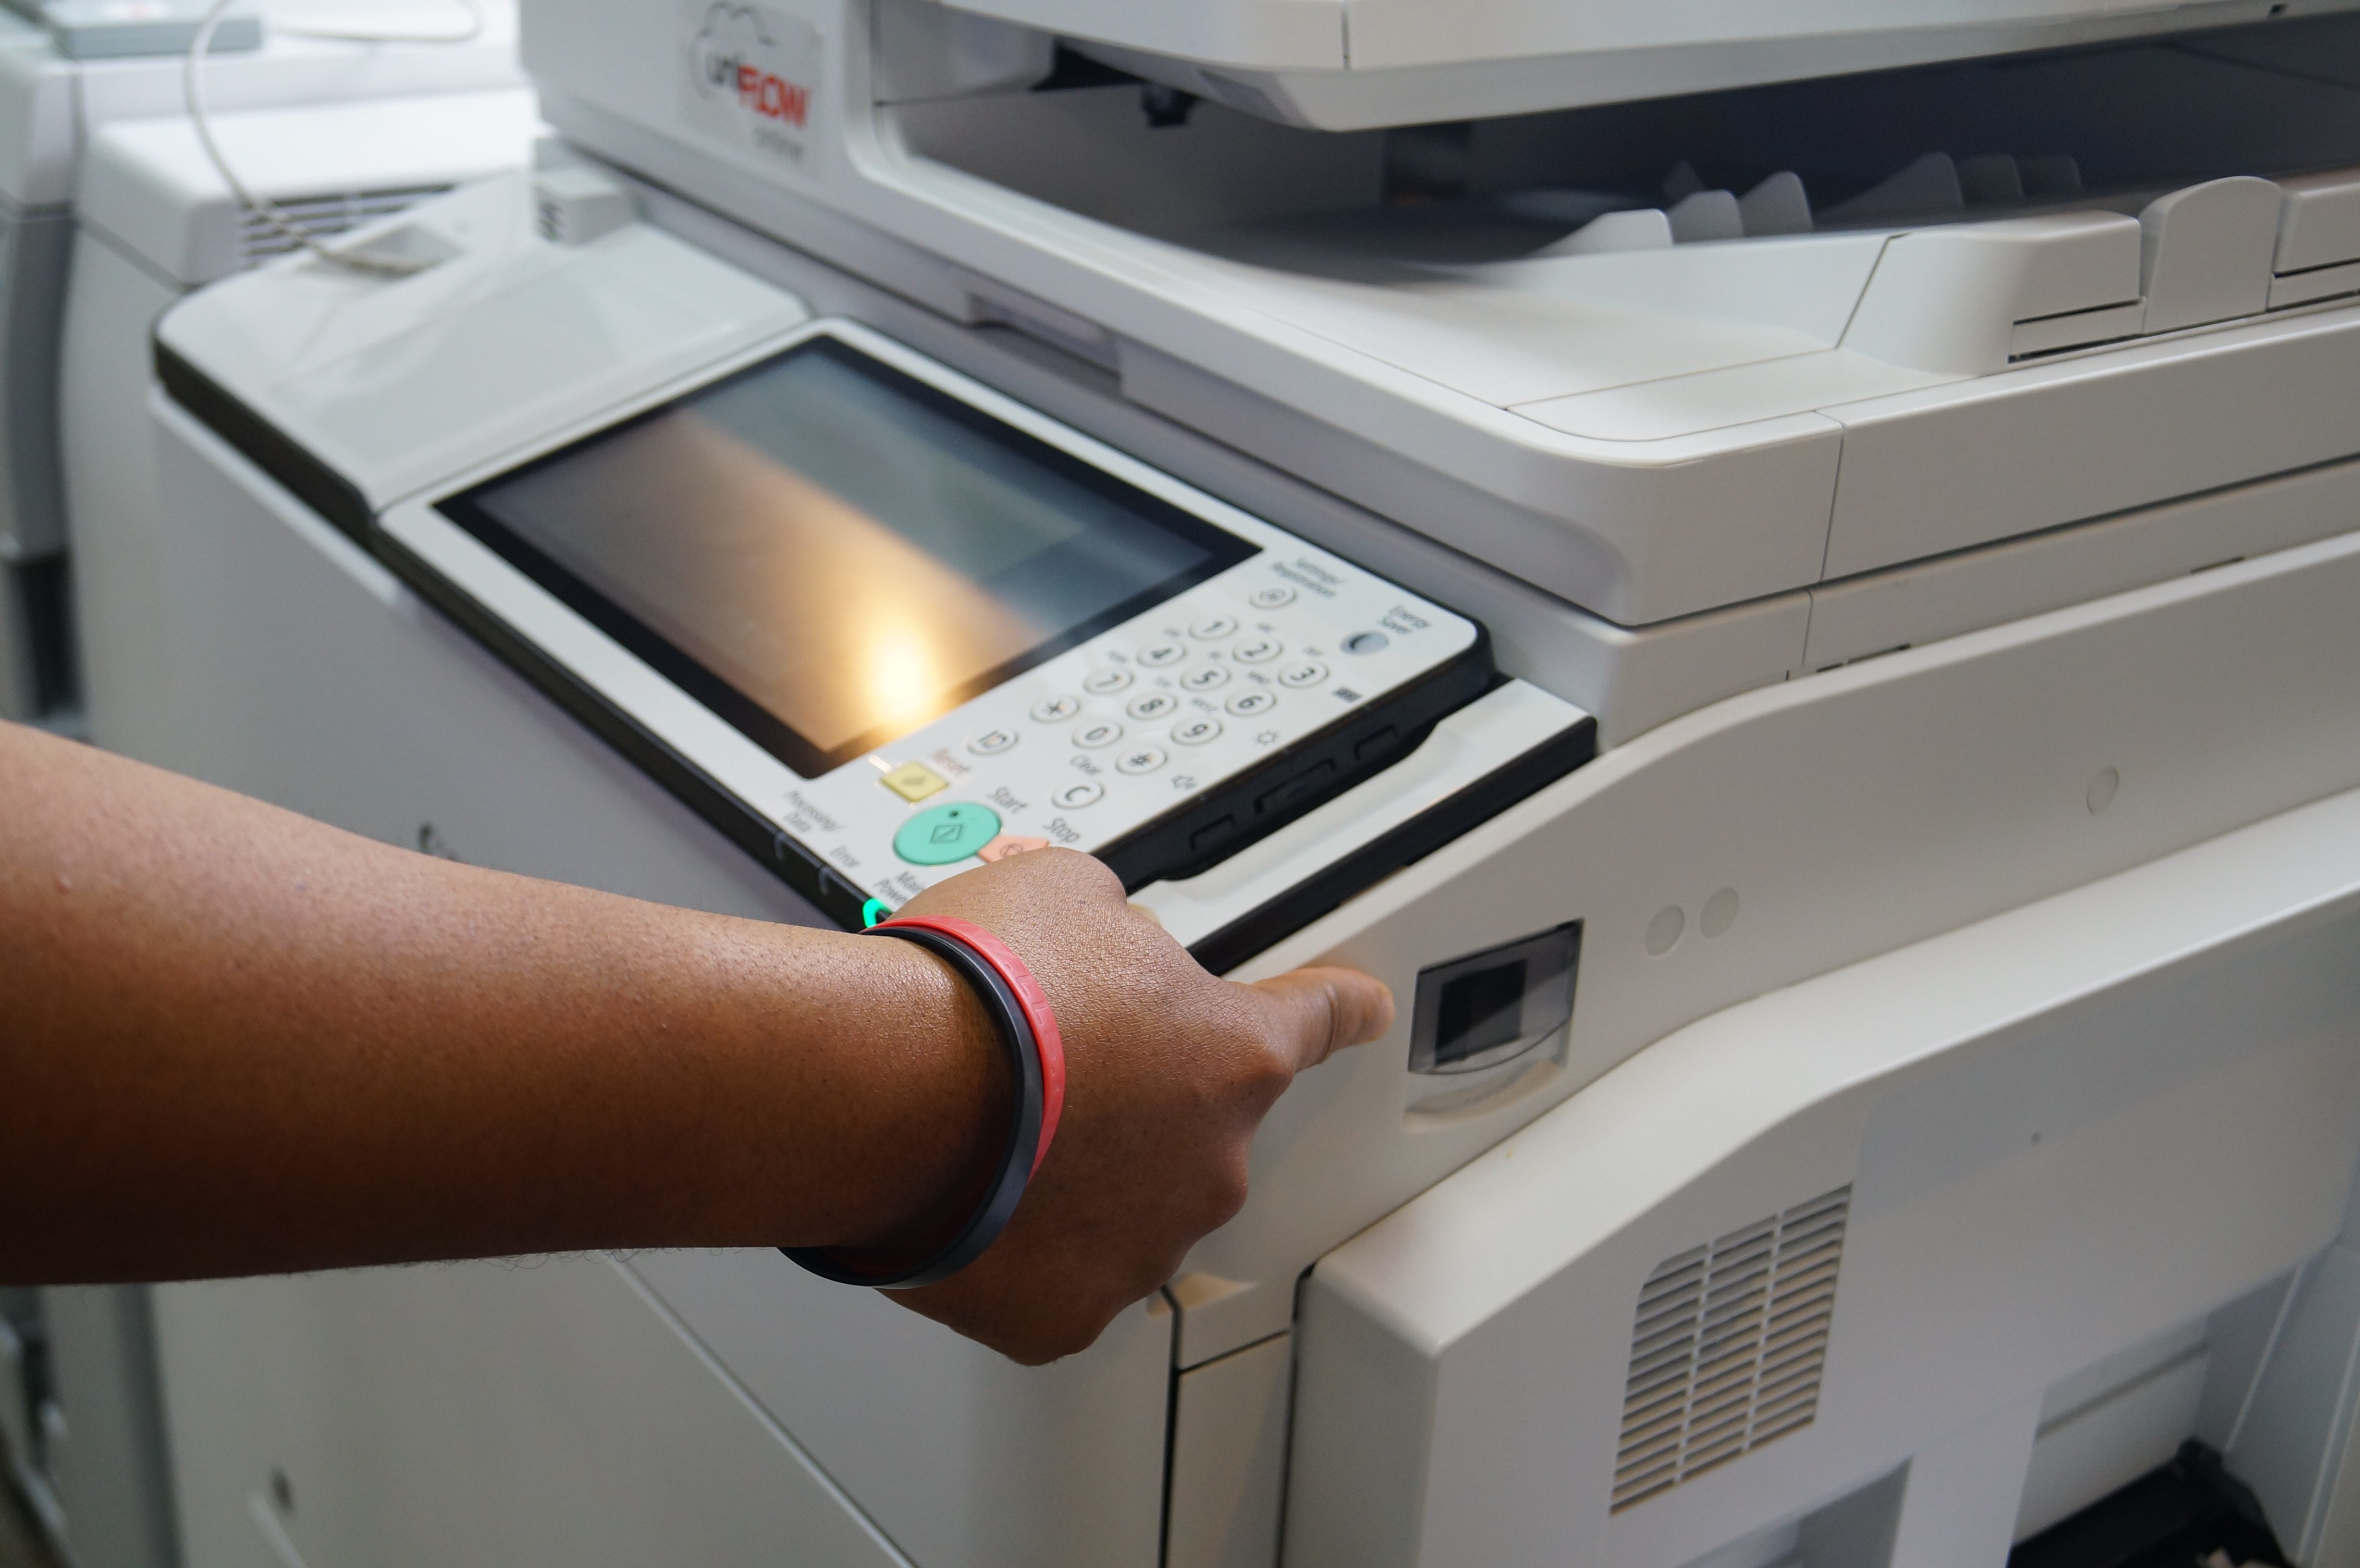
Above: Power switch for a Canon MFP
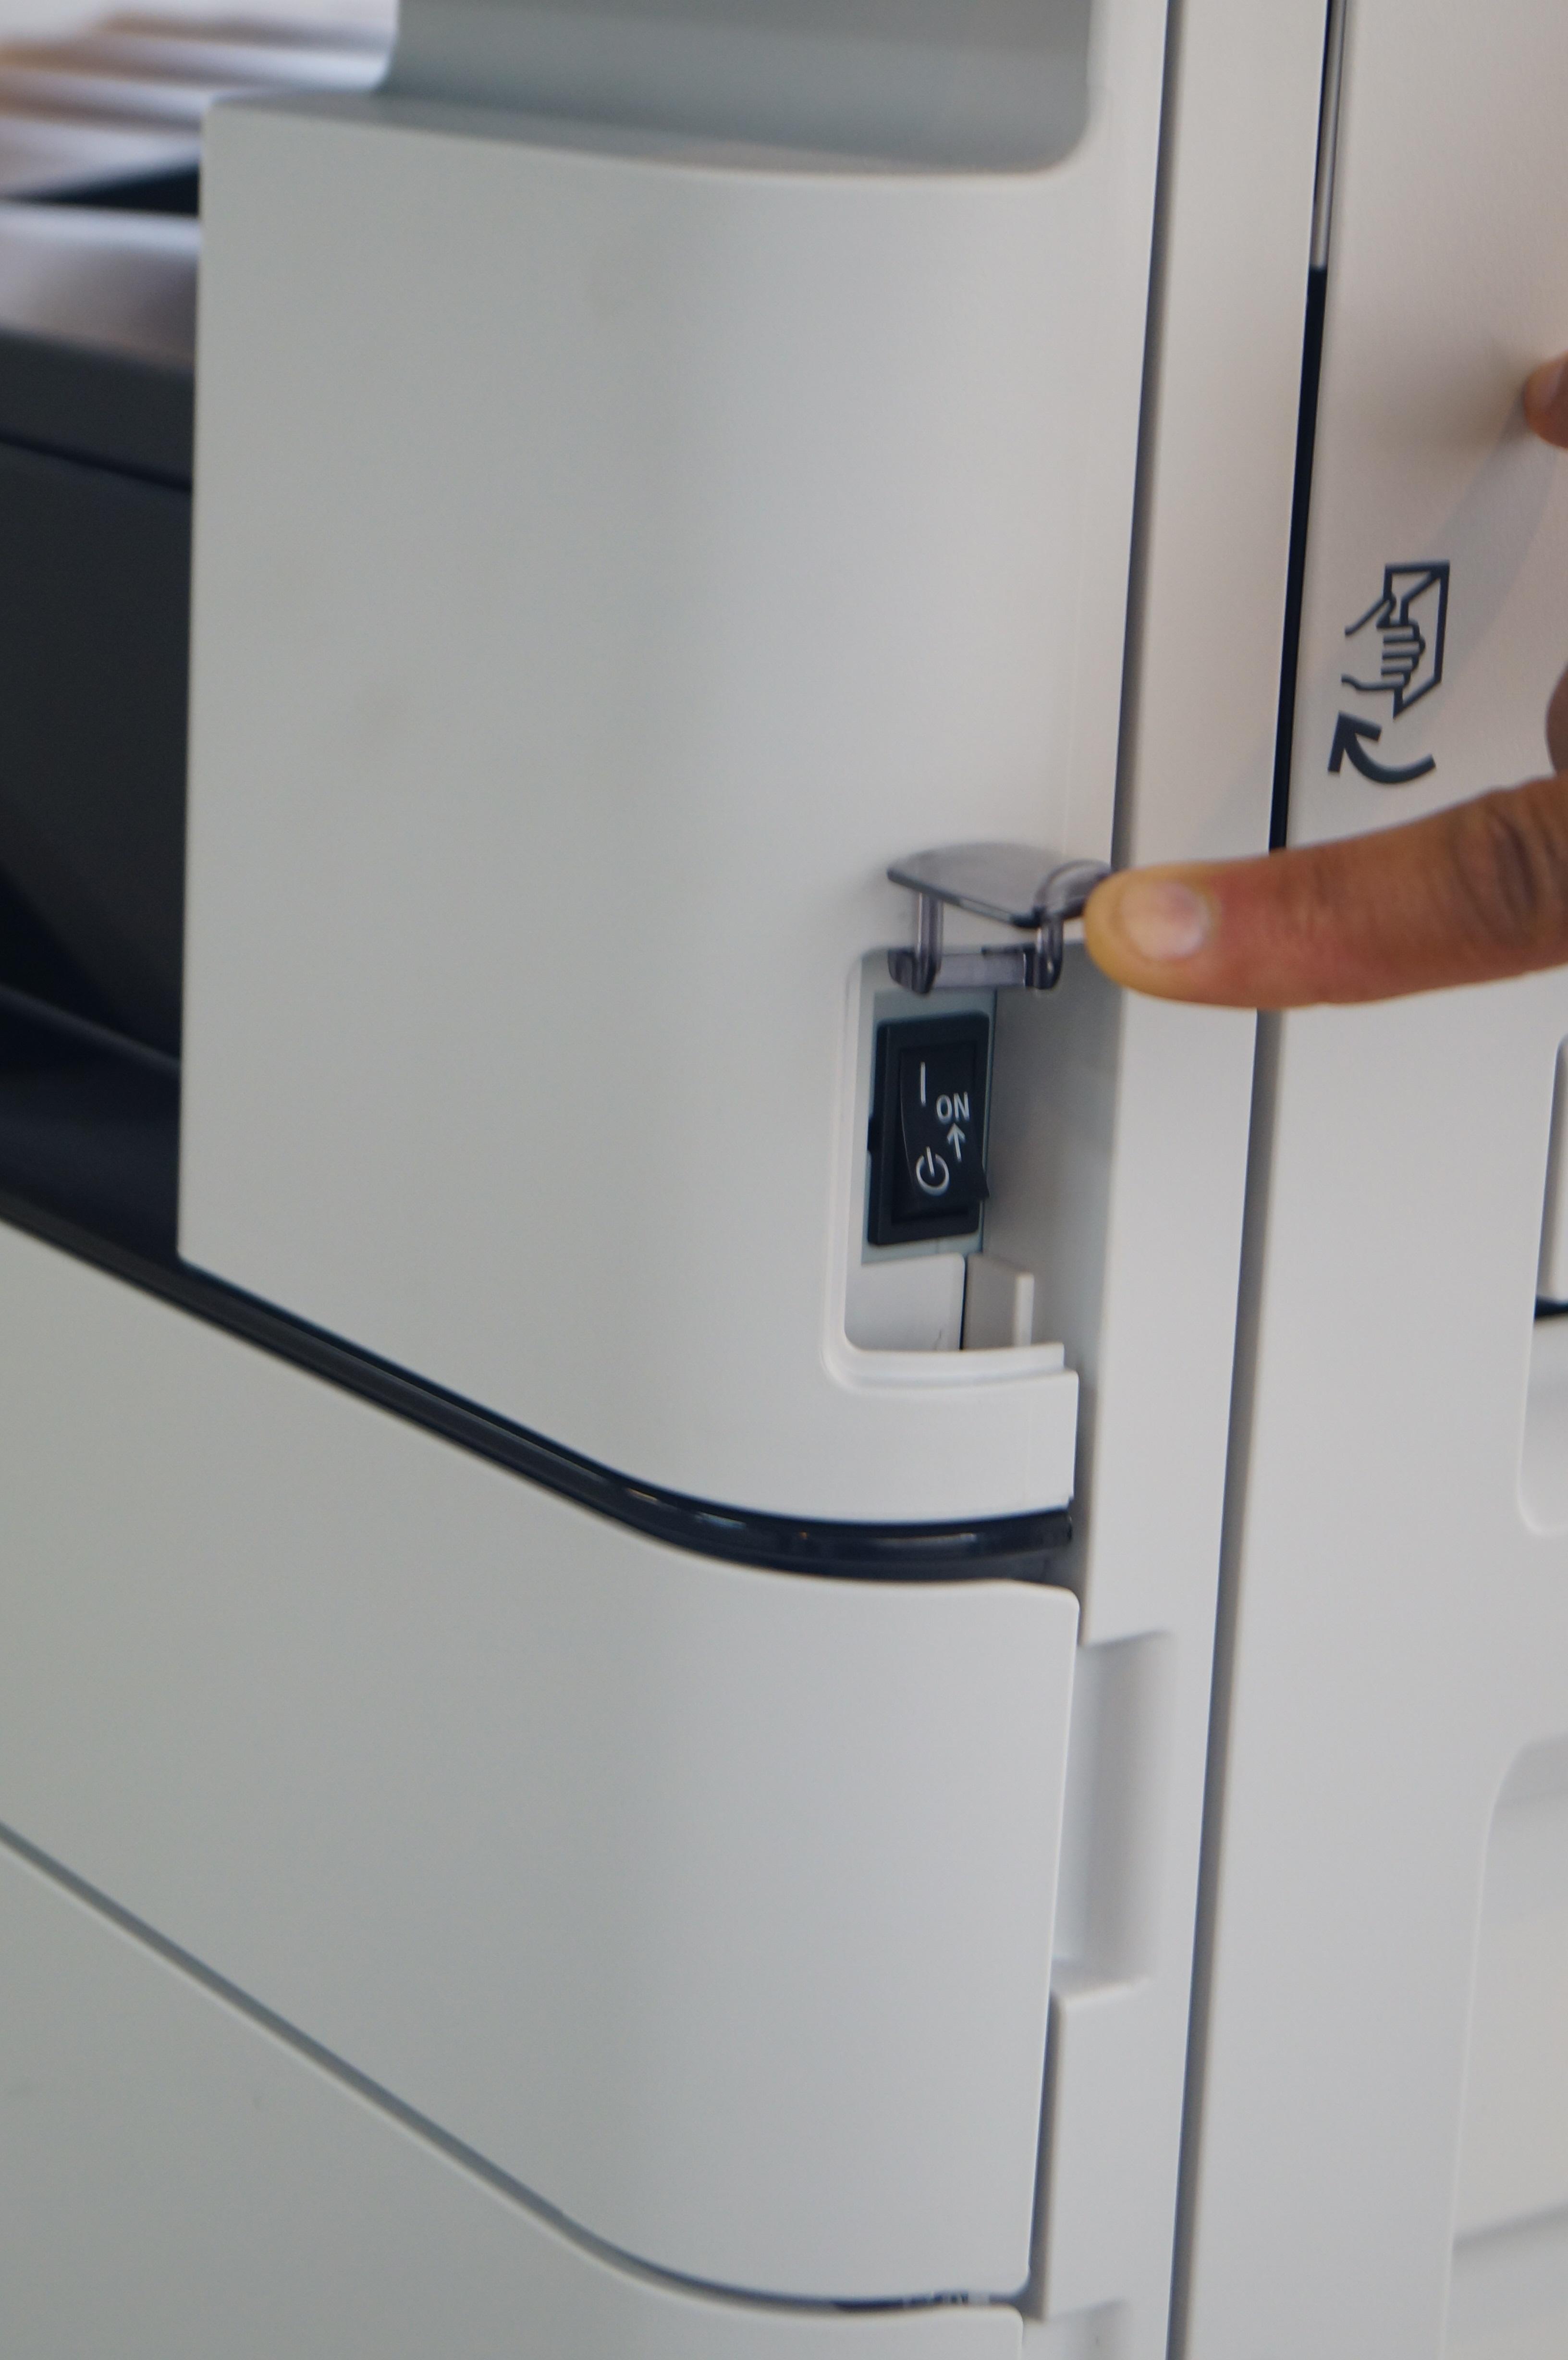
Above: Canon MFPs may also have their switch placed in this location
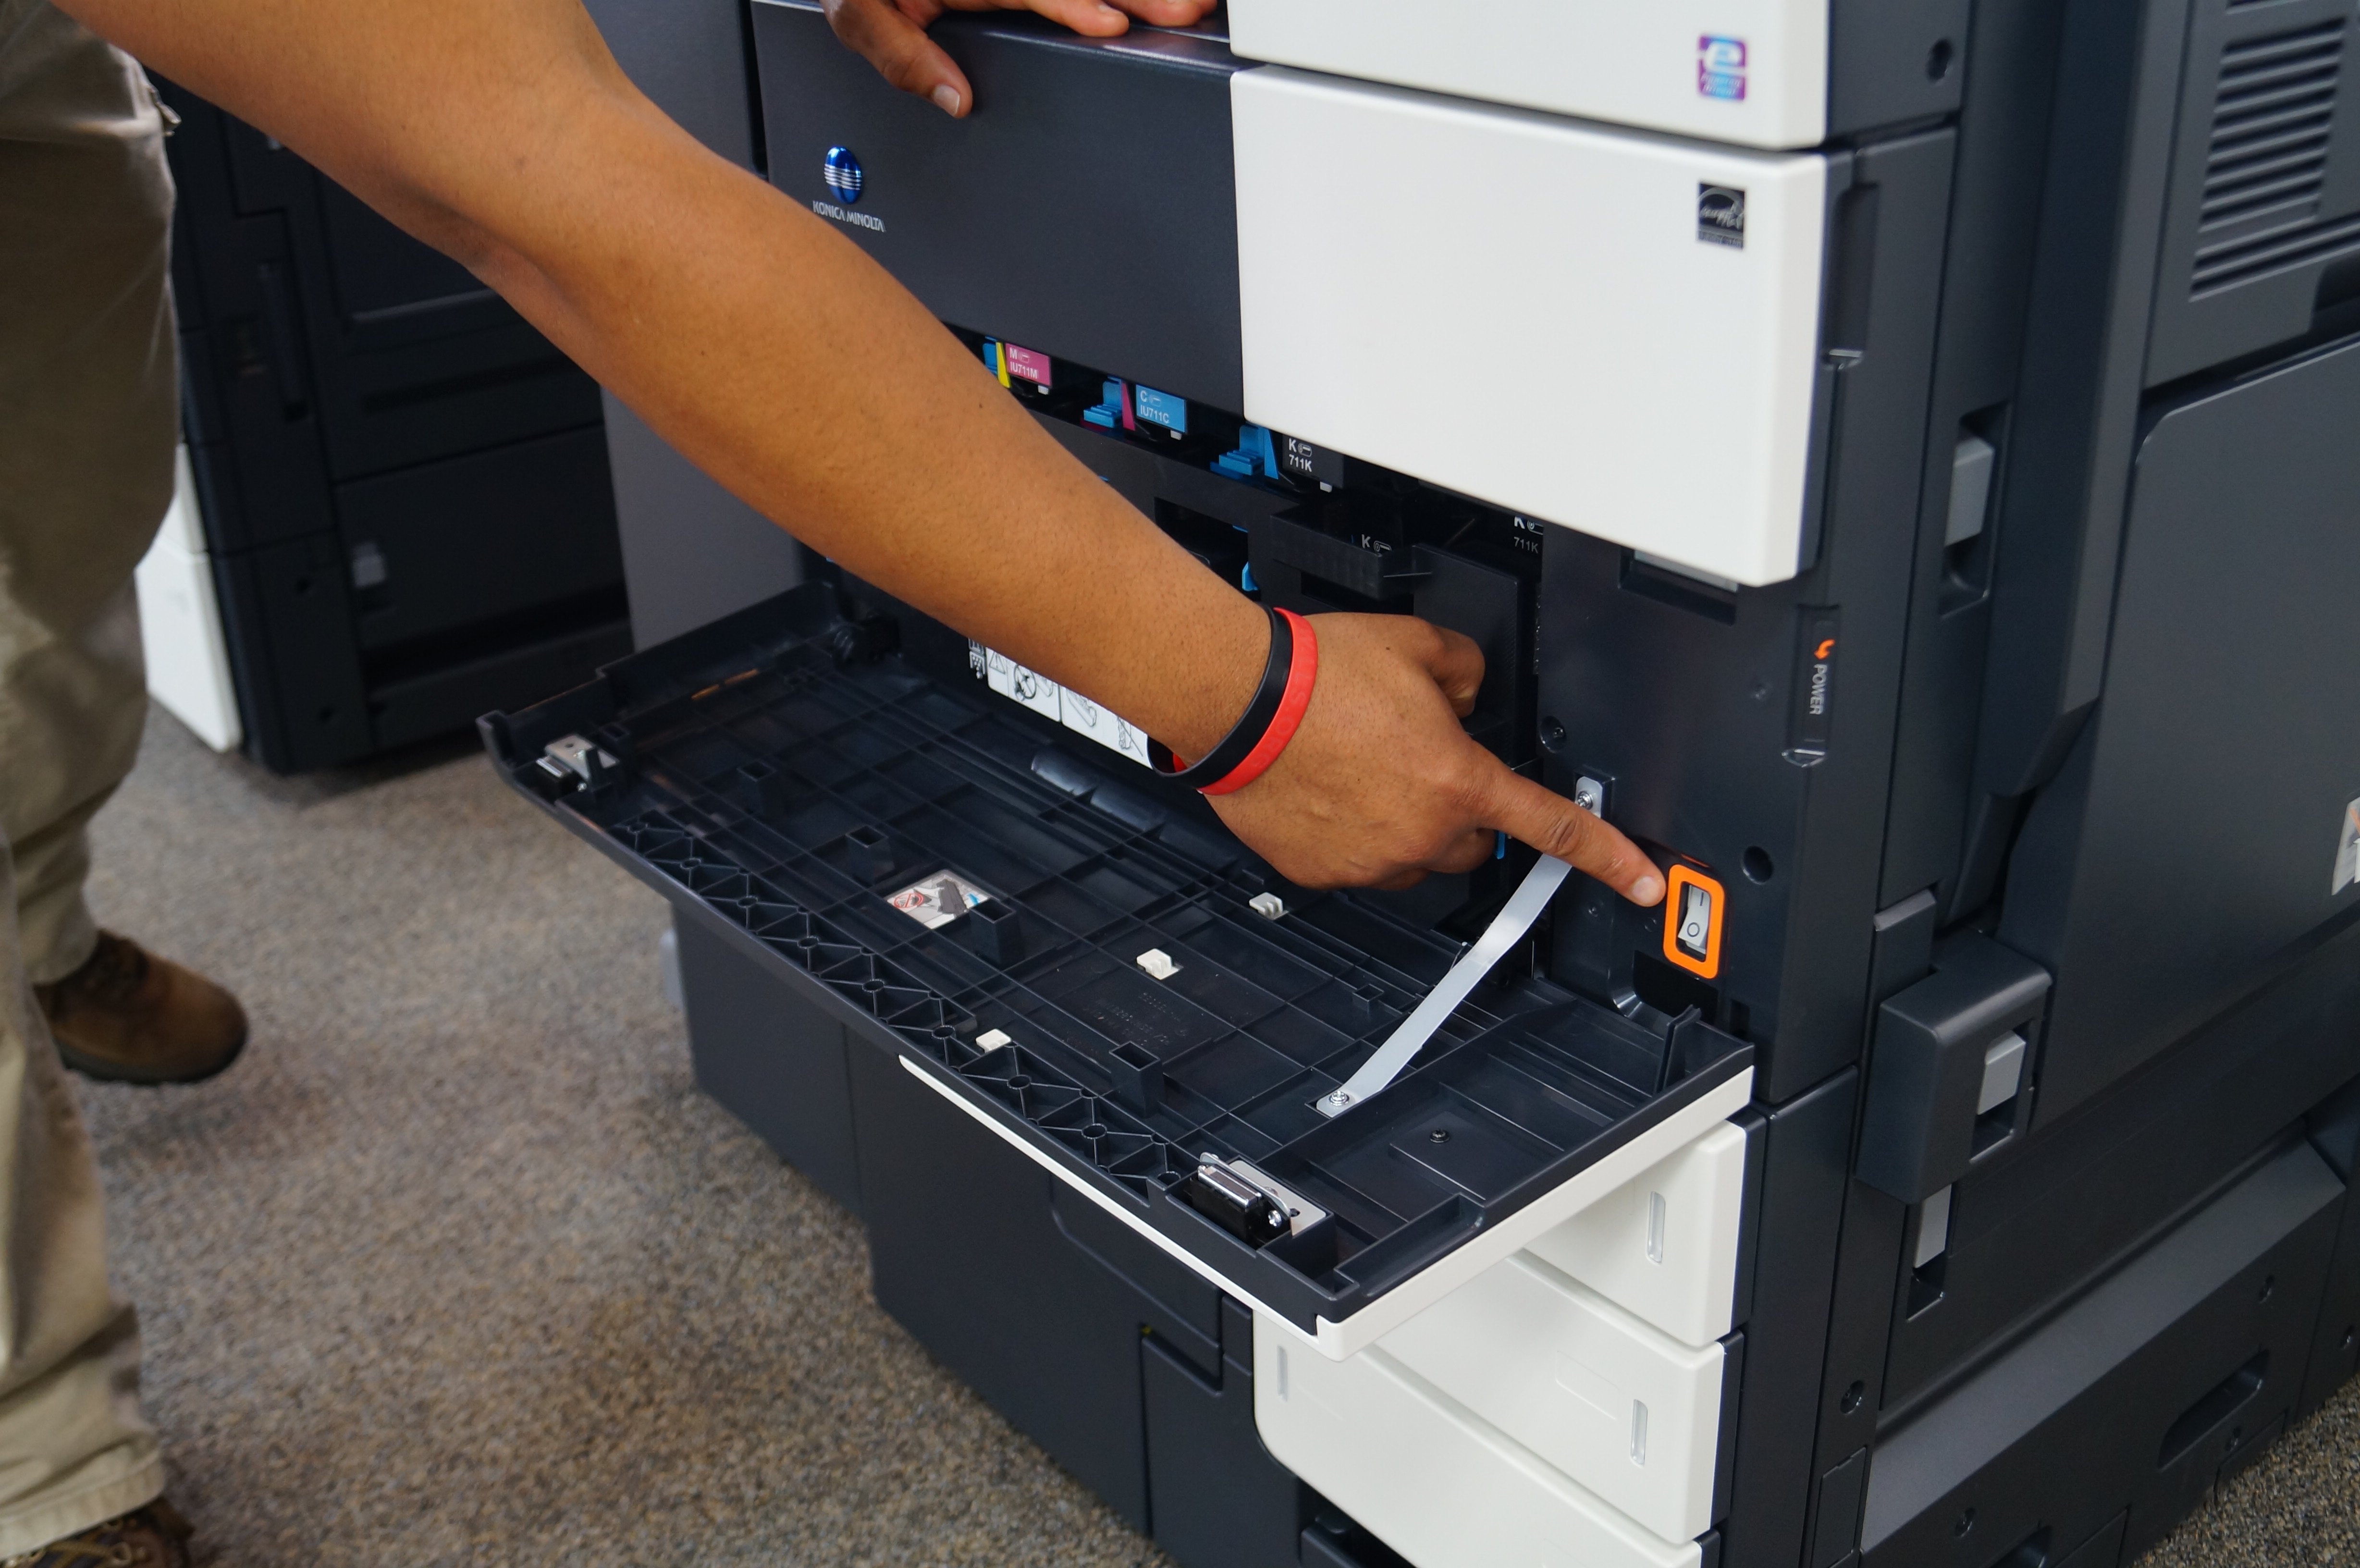
Above: Konica Minolta MFP power switch location
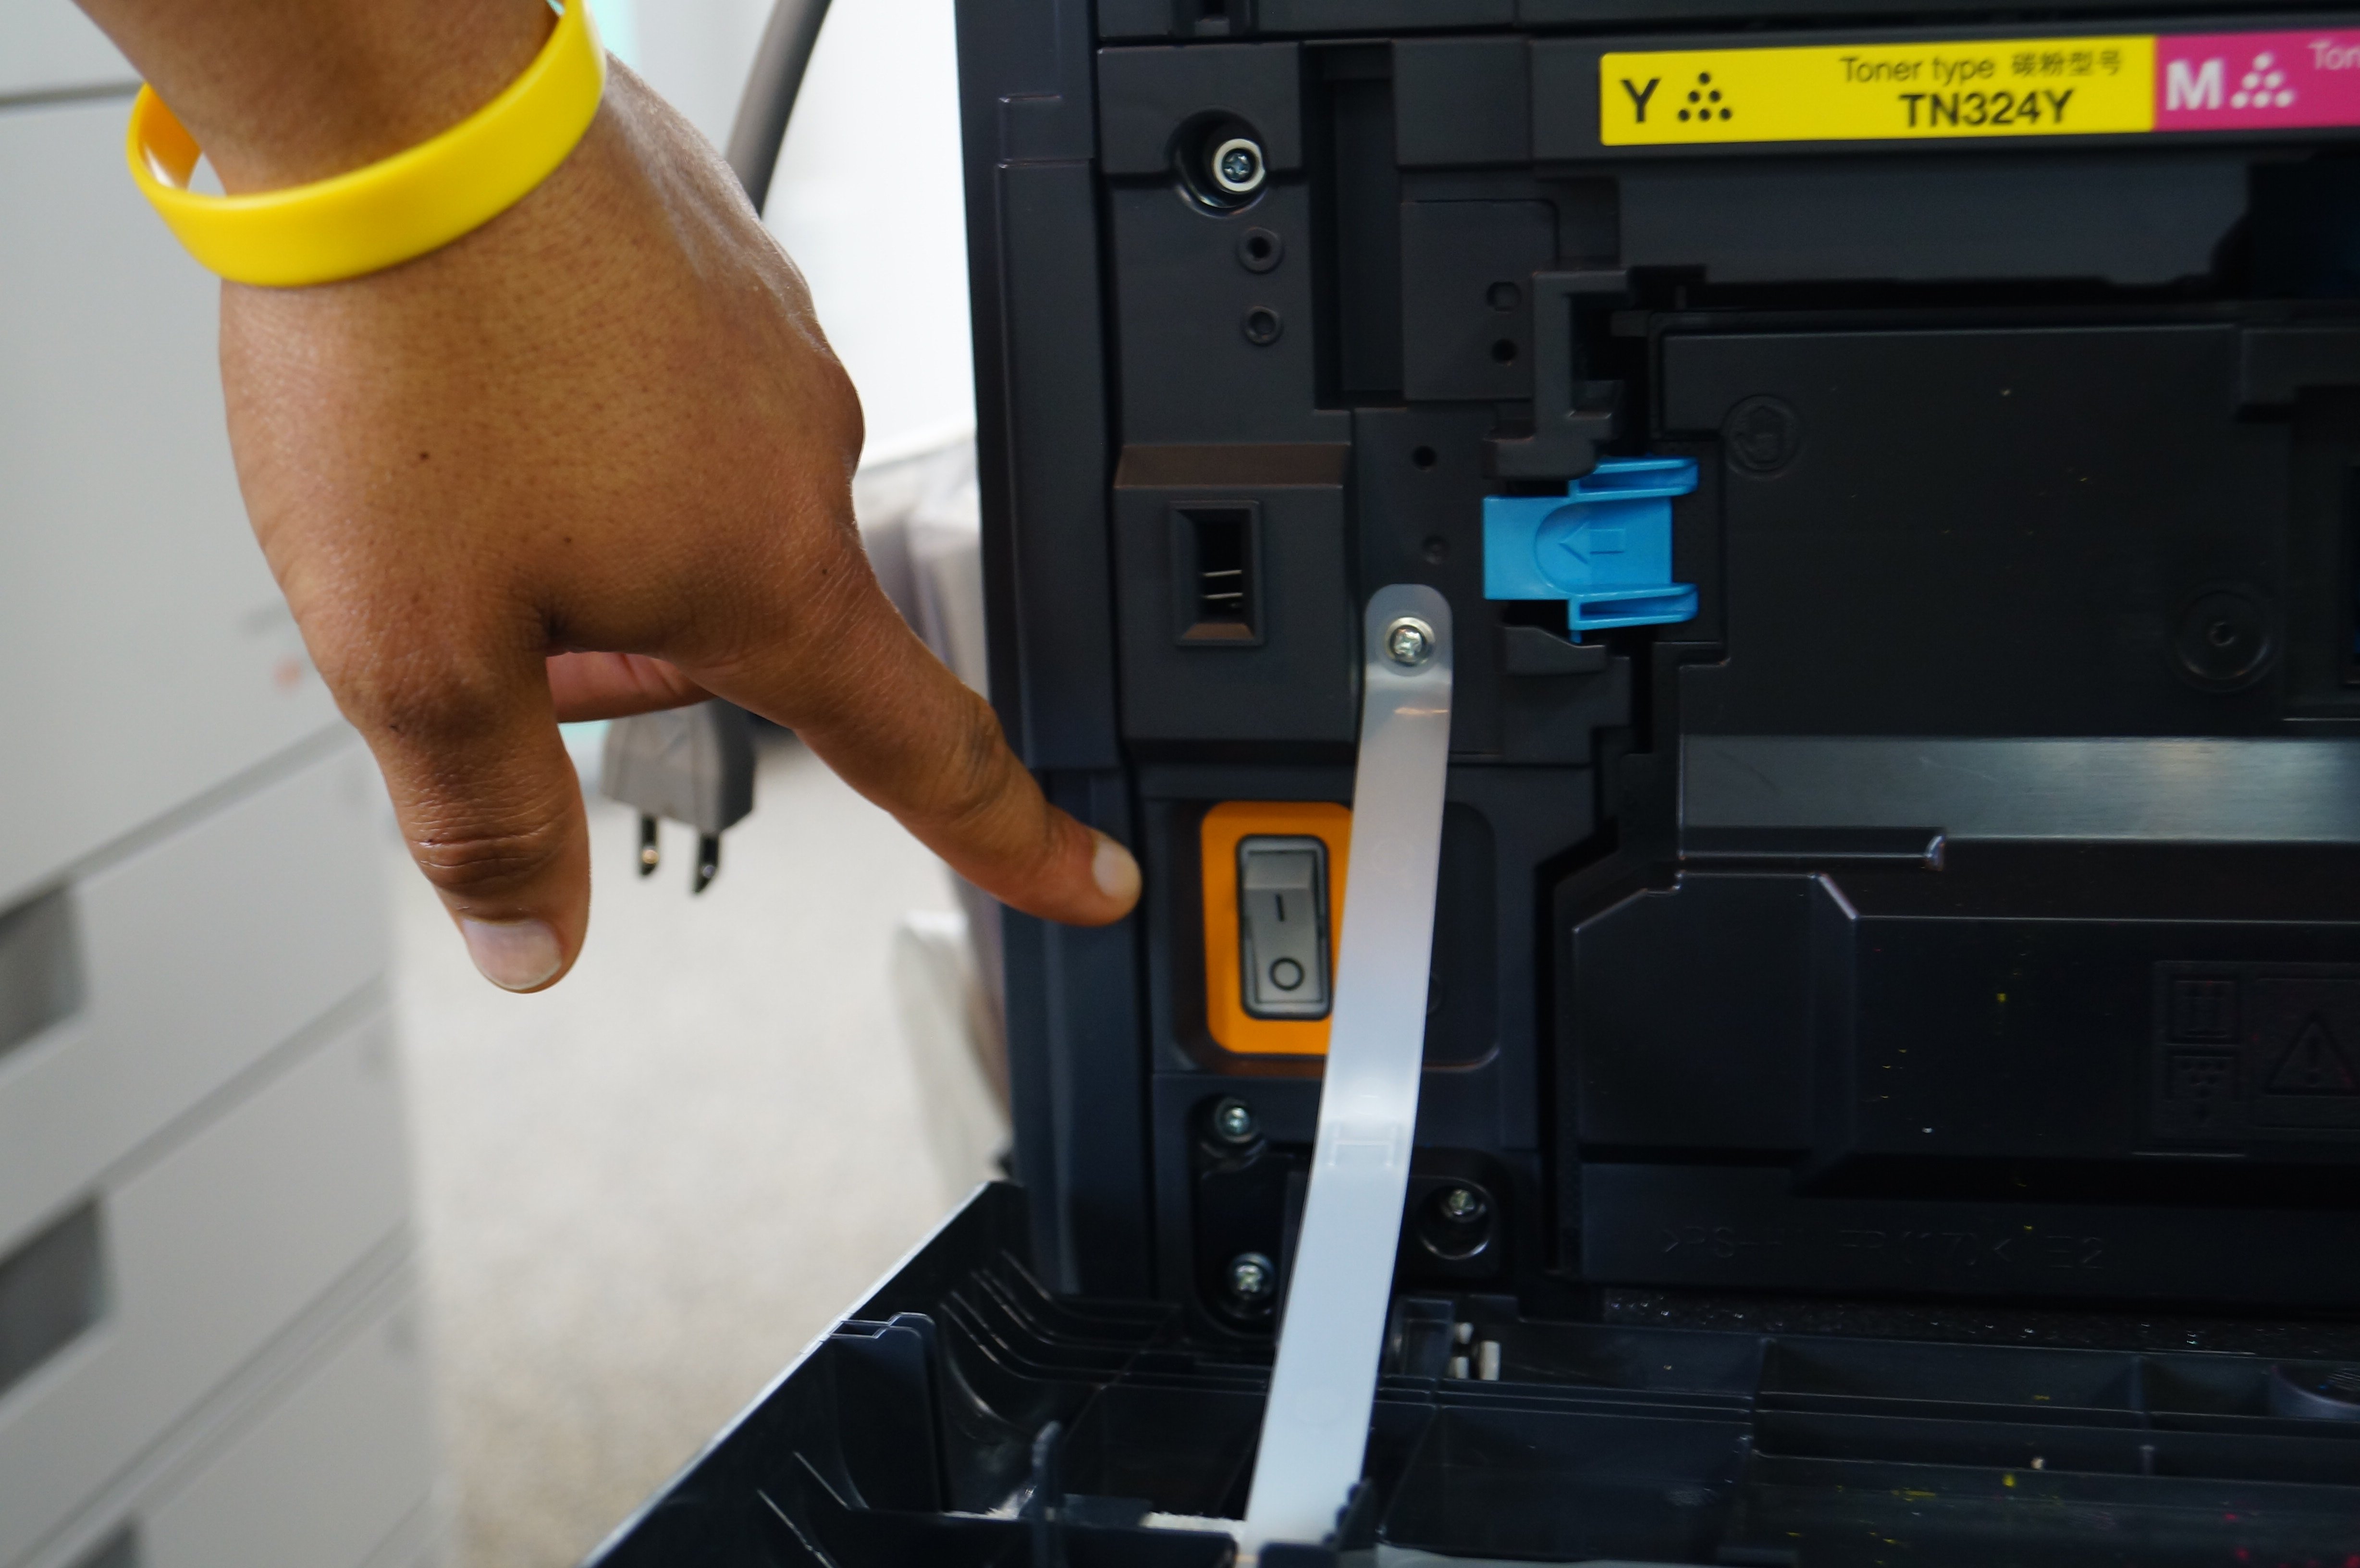
Above: Another location for the power switch on a Konica Minolta MFP
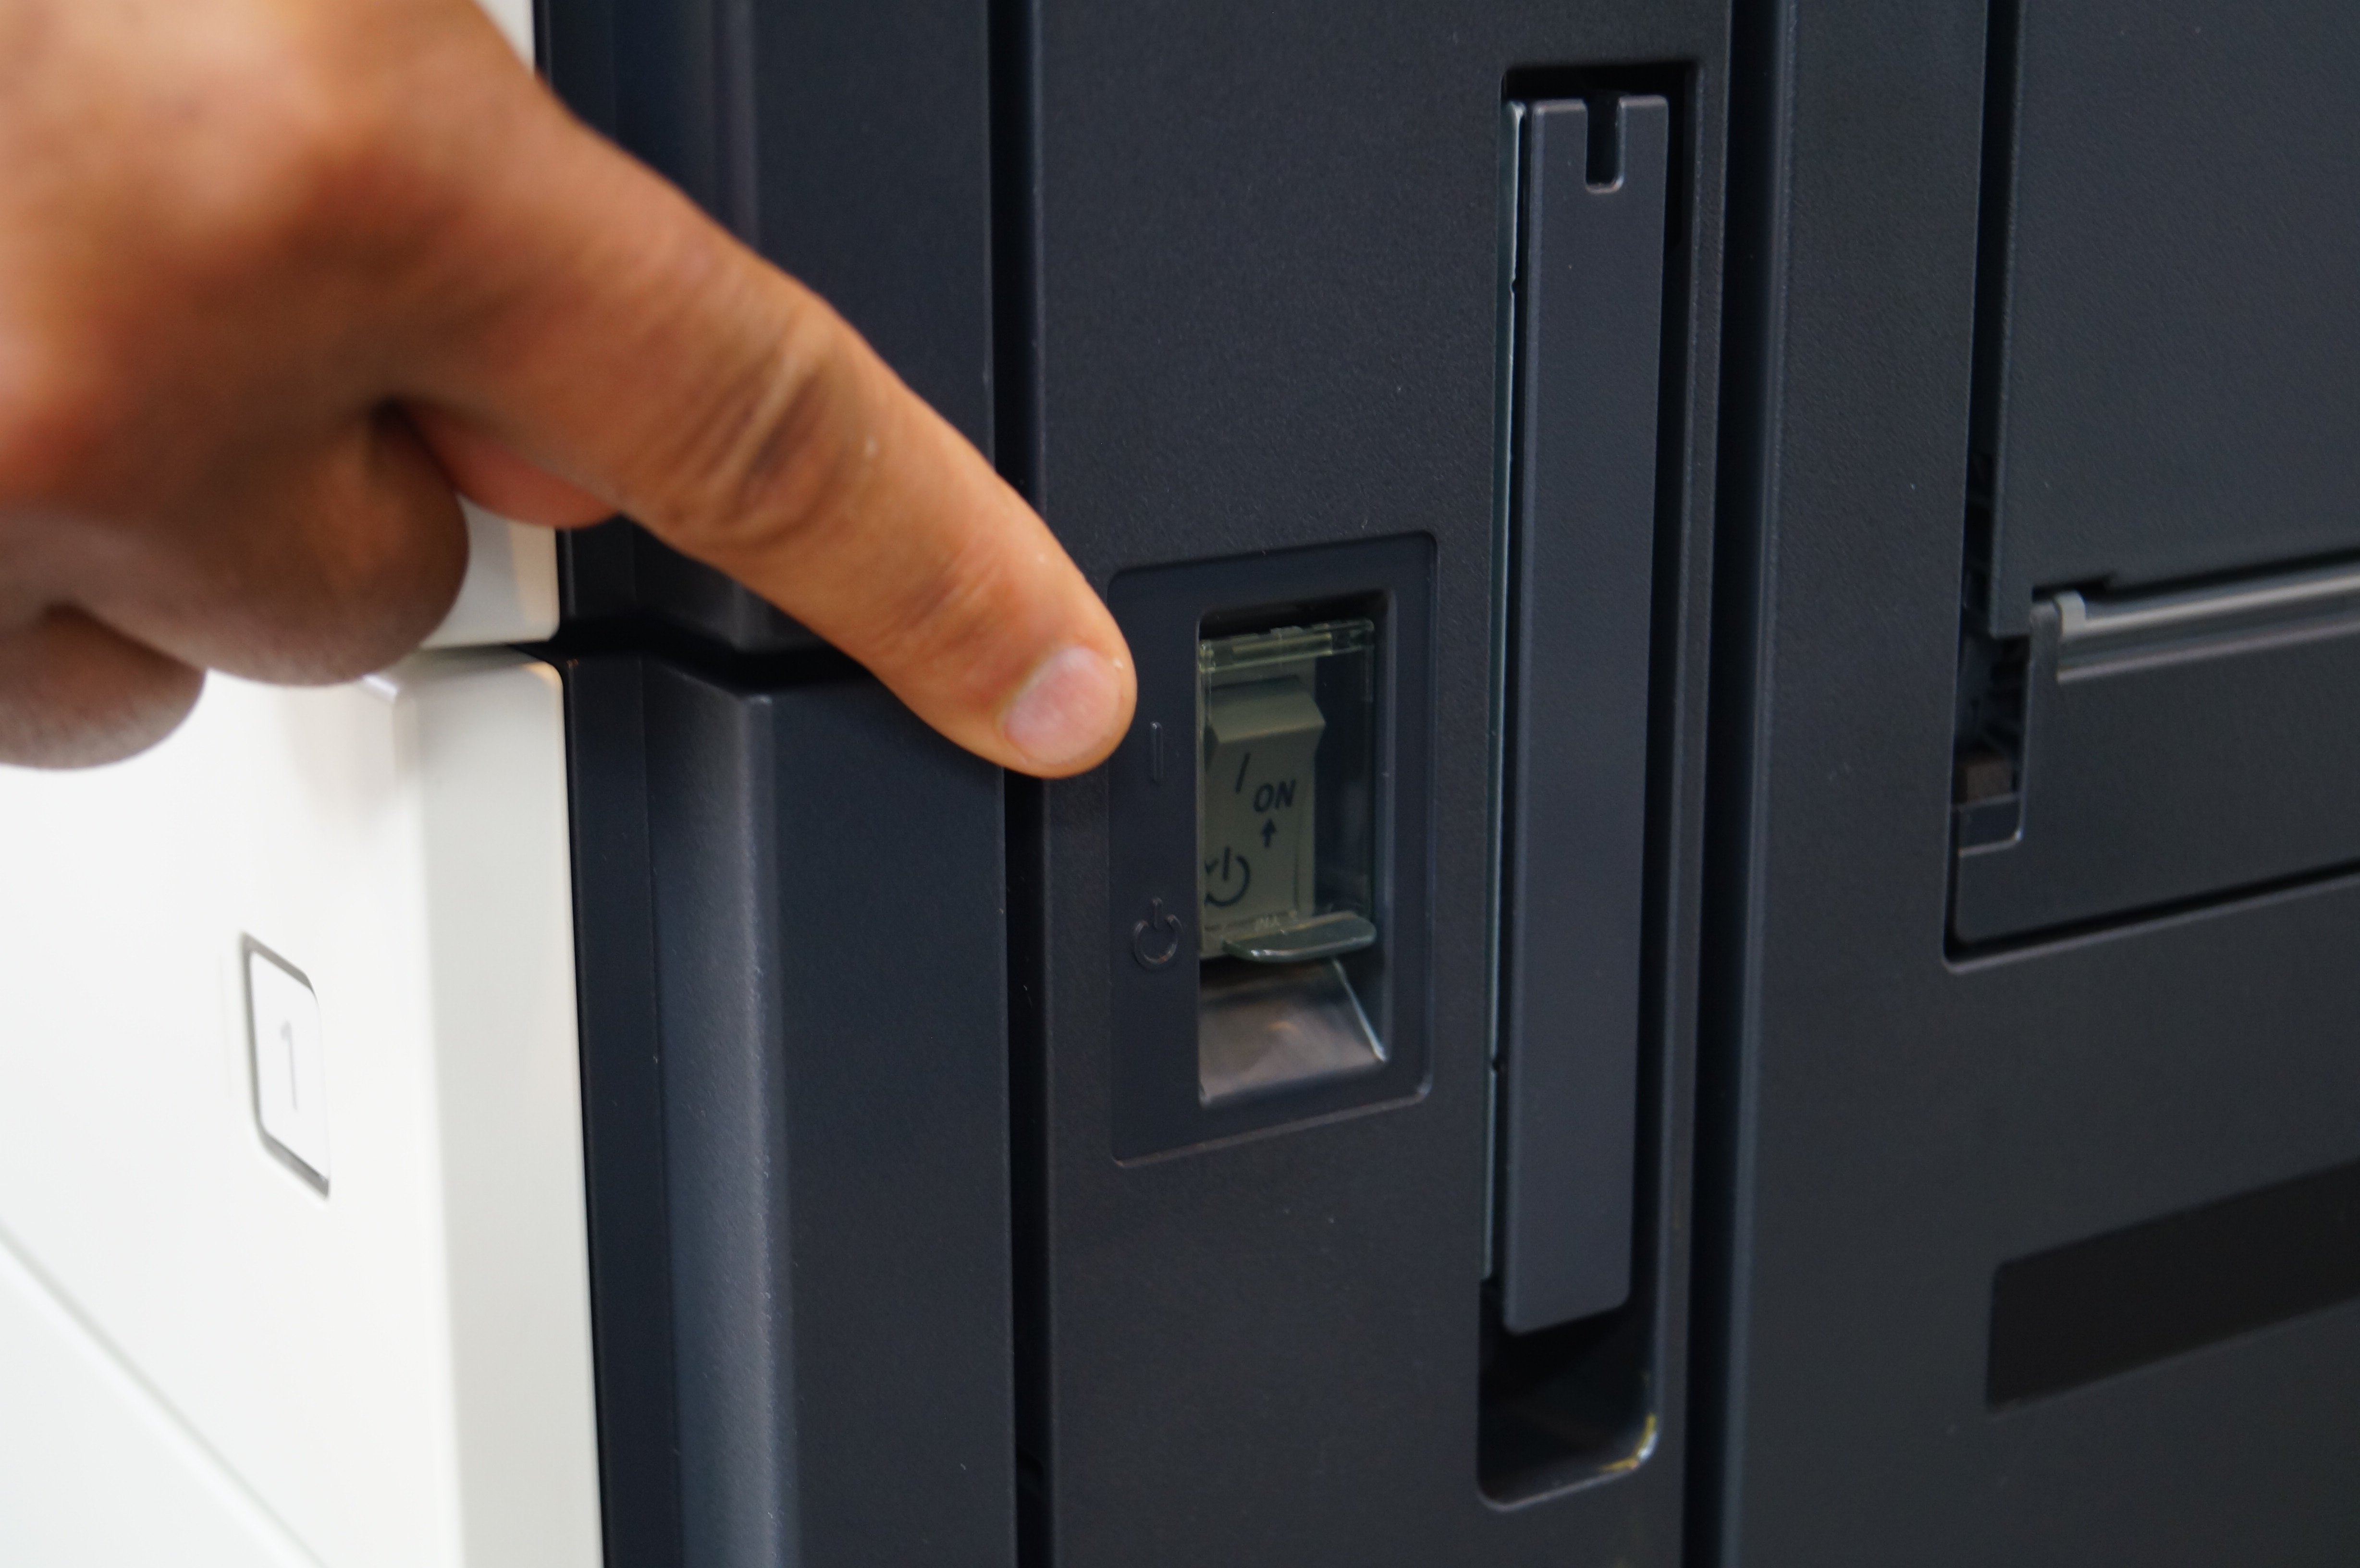
Above: Power switch location for a Kyocera MFP
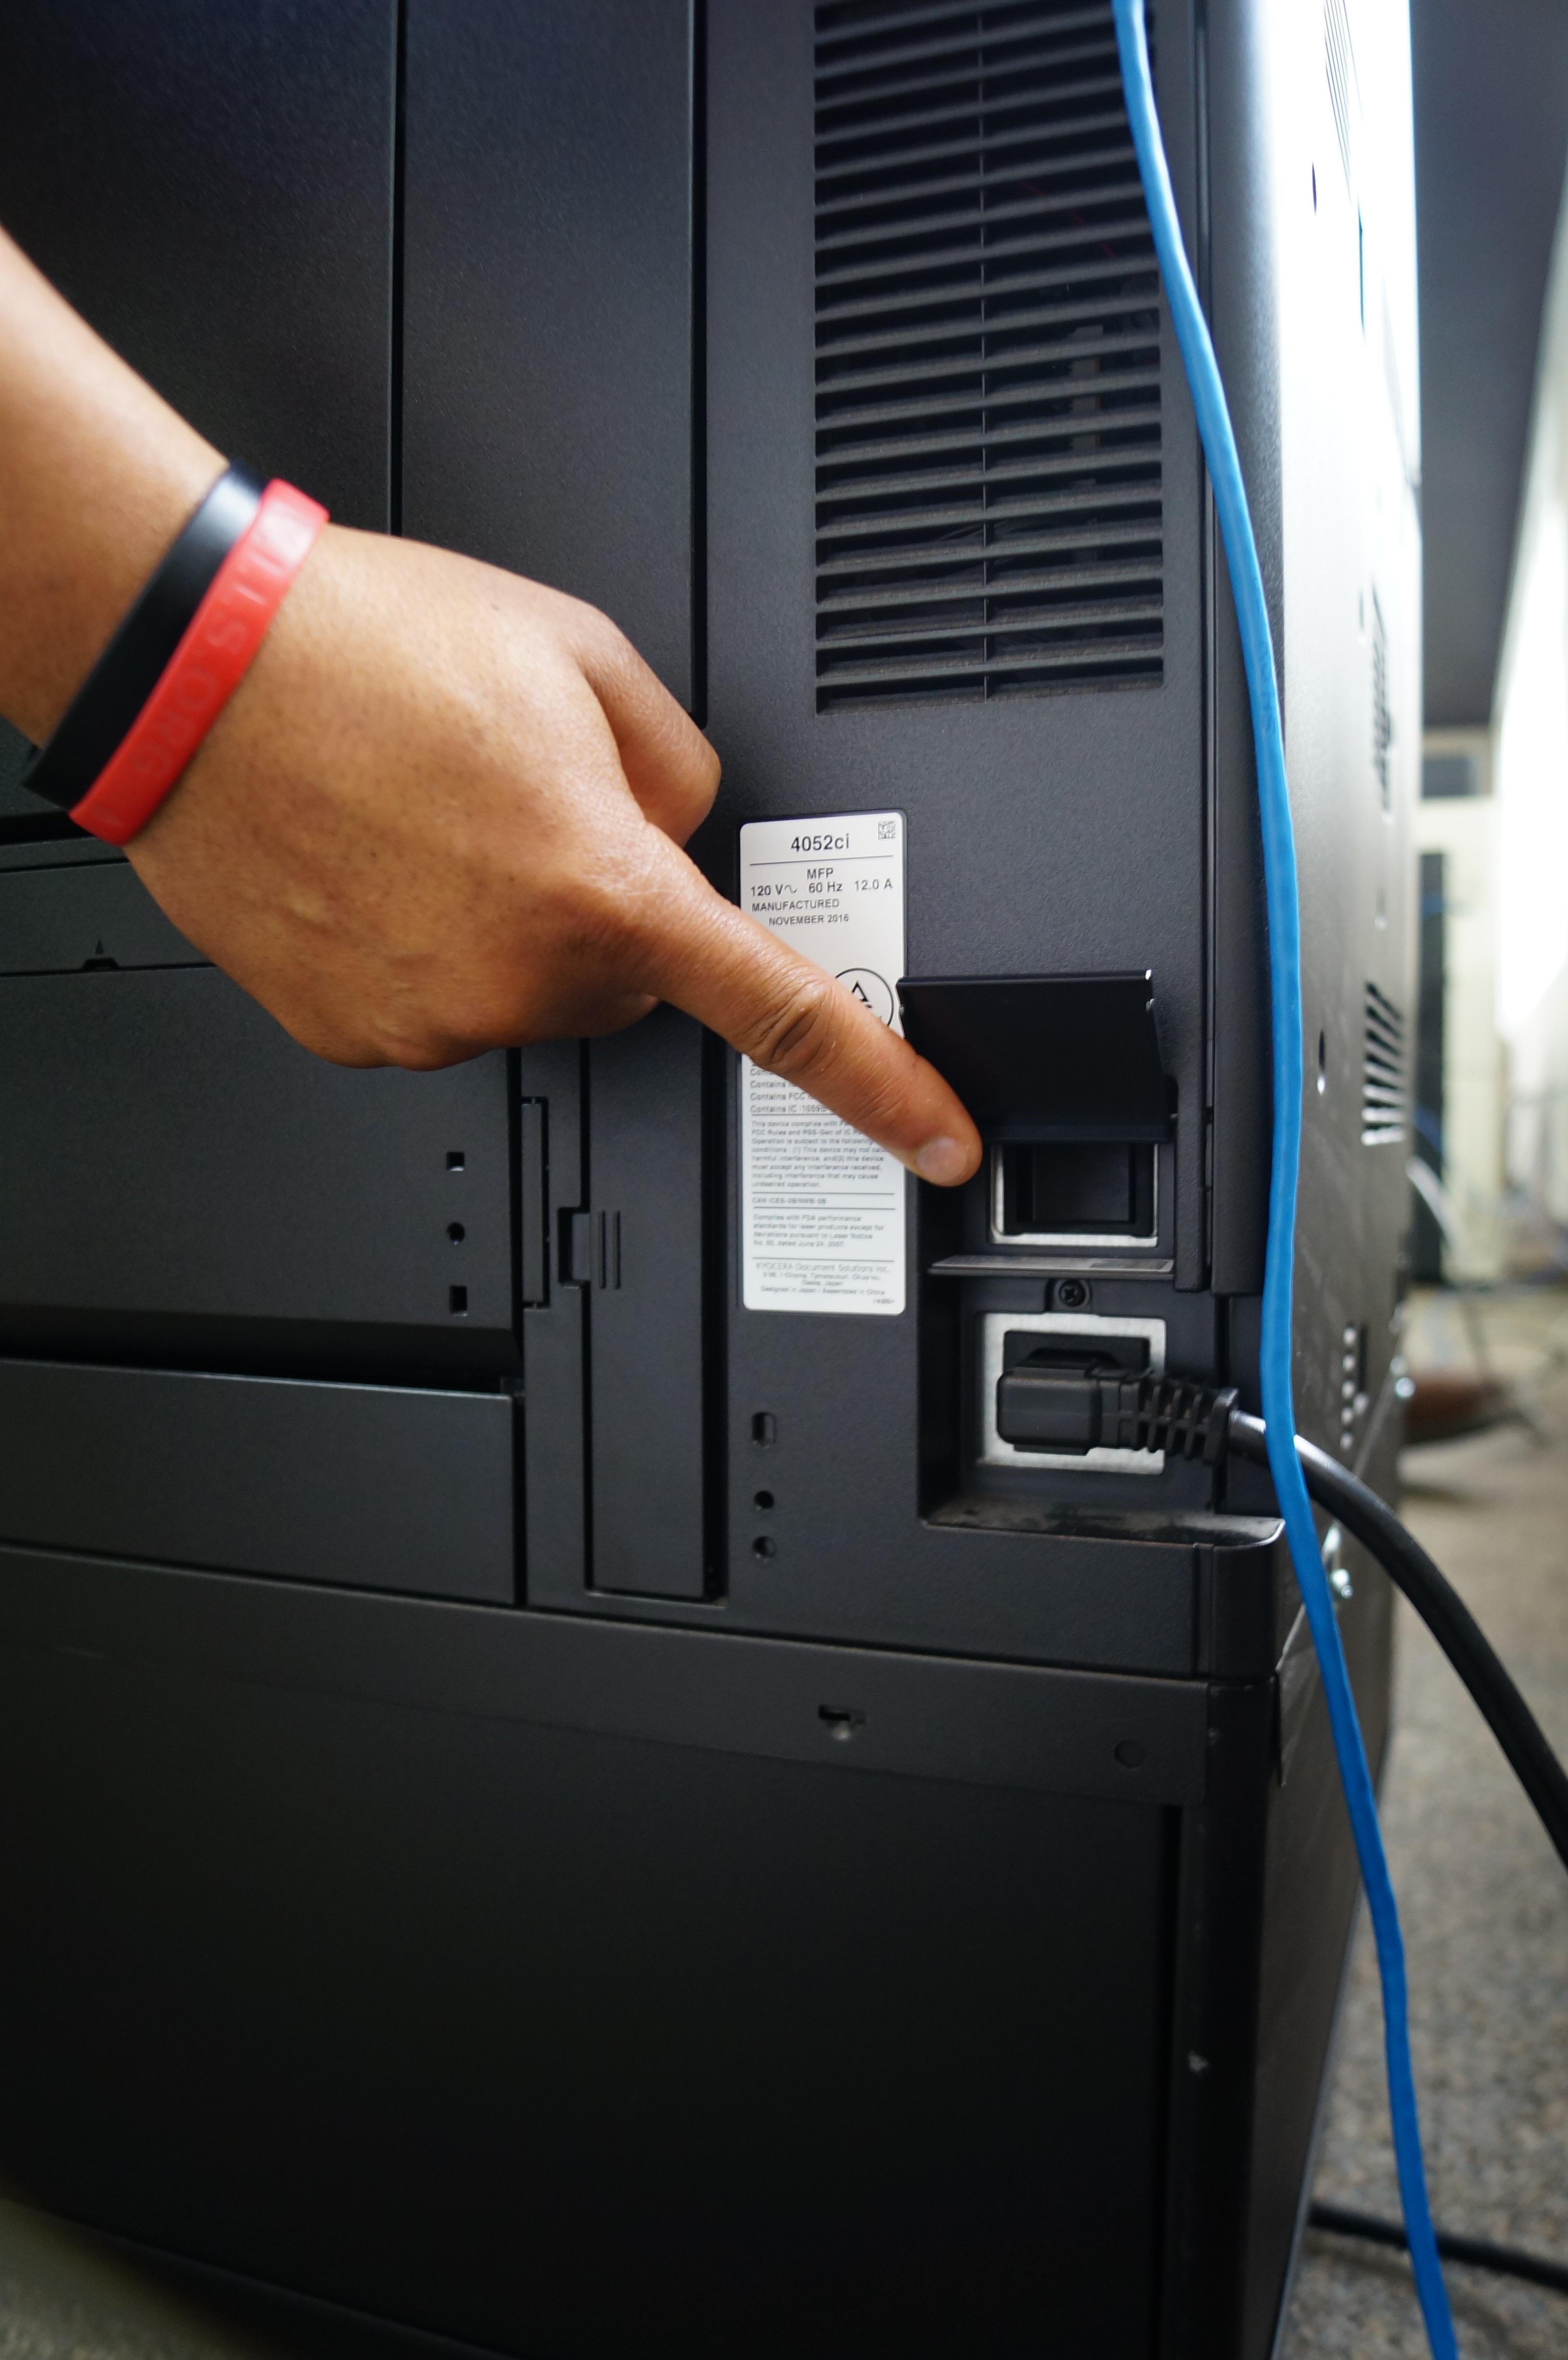
Above: You may also find the power switch on the back of your Kyocera MFP

3 min read
Cobb Technologies has been honored as one of the 2025 Best Places to Work in Virginia by Virginia Business and Best Companies Group. This prestigious...

5 min read
Cobb Technologies is honored to hold the SWaM (Small, Women-owned, and Minority-owned Business) certification, awarded by the Commonwealth of...

5 min read
Every year, thousands of Veterans transition from military service to civilian careers in Virginia, bringing invaluable skills and experiences to...