3 min read
Building Culture That Works: Cobb Tech Named One of VA's Best
Cobb Technologies has been honored as one of the 2025 Best Places to Work in Virginia by Virginia Business and Best Companies Group. This prestigious...
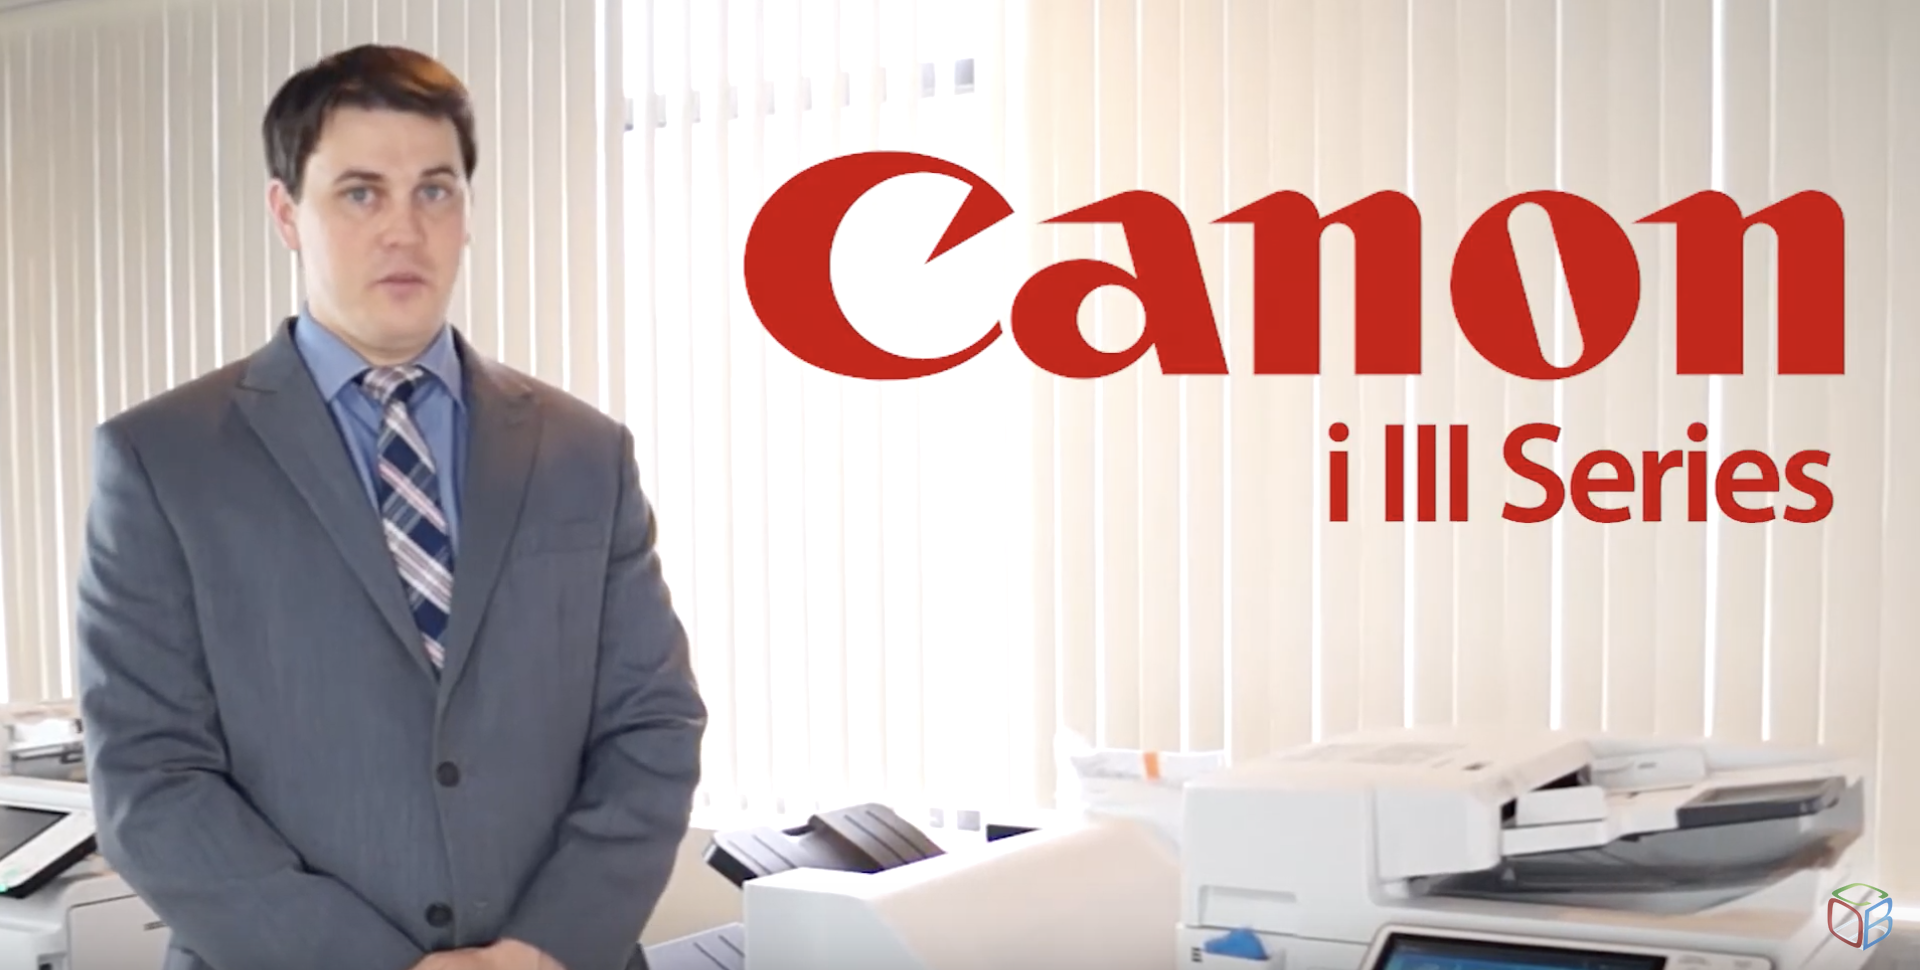
Today we're going to go over a basic training of the Canon i III Series of equipment, including exterior care and a guide to the user interface.
Hi, I’m Tim Groat with Cobb Technologies, and today we’re going to go over a basic training of the Konica Minolta i series of equipment.
All right, first off, I'm going to show you the most typical places where you'll get jams on various machines.
The most common is going to be right here on top of the document feeder or this little tab.
You should see the paper sitting right here. All I’d say is just to make sure that you pull out the paper gently, because if you yank it out, a little piece could get torn and stuck inside, and then you'll need someone to come out and take the machine apart so that they can get that little piece out and make it continue to work.
The next spot that we'll look at for where you may commonly find a jam is going to be right here on the side. So, there's a little handle - pull out on that. You'll typically see the paper sitting here or here as it feeds up from the different paper trays. Again, just pull the paper out gently. You don't want to tear the paper, because then a Tech will have to come out to fix it.
The last couple of places where you might see a jam is here if you have a finisher. Again, you'll see the paper just sitting right there - just pull it out as needed. Anything that is green you can lift up so that you can pull the paper up.
If you want to scan anything on this machine, you would just put your paper right here, or you can open it and put it here on the platen glass. If you do have any kind of issues of streaking or anything on your pages, sometimes it's just paper dust on the glass. Get a dry cloth and just wipe down either here or here.
All right. Next up, I'm going to show you how to replace the toner. So you'll just open up right here. You'll take whichever toner that is empty. Pull it out. You can take this old one and throw it away. They're designed to be disposable. Or if you'd like, there is a recycling program that you can contact us about for more information.
Once you get the new toner, you just slide it right back in to the slot associated with the color. Here is where you replace the waste toner bottle. It just press down on these tabs and pop out and you'll take your new one and pop it right back in, just like you do with the toner. The only thing you don't want to do is take a full waste toner bottle, empty it and try and put it back in - the machine will know that it was the same waste toner bottle and it will throw up an error code, and a Tech will need to fix that.
So on this next step, I'll show you how to refill a paper tray. Just open the tray like this and you'll see there's these little blue handles for guides to open it and close it depending on the size of paper that you need. Make sure the guides are tight because if they're not, that's where a lot of this jamming can happen. And when you put in a new ream of paper, just make sure you take the new ream and fan it before you put it in because a lot of times new reams actually have pages stuck together and that can cause a lot of issues.
So next for replacing staple cartridges, all you do is open up here. You're going to wheel this all the way over to the ends and you'll see this blue tab just pull up on the blue tab and you'll see it slides right out. You'll take out the staples, put the new staples in this little cartridge, and then you'll just slide it right back in there. When you close this, you automatically send the staples back to where they need to be in position.
So right now there is actually a basic style and a classic style for the Konica Minolta user interface. I'm going to show you the basic style first because that is the newest one that has just come out on the i Series.
Okay. So this is the basic screen. This is the copy page that we're going to go into now. So you can see there's a couple of basic things that are already set up for you.
First of all, is color. It's set to auto color. You can have this defaulted when it is installed to whatever you like or change it later on. I would always recommend that you go with either auto color or black and white. And the reason why is because full color will make every page a color page, even if there's no color on the page. Whereas auto color will say “This first page is color and the rest are black and white”. And, of course, if you choose black and white you won’t need any color at all.
Paper: currently selected to auto. If you want to change that, you just hit here and select which tray you want it to come from. This is really helpful if you use a special kind of paper in any of the paper trays or anything like that.
Density. If you ever want to change the density and make it a little darker or a little lighter you can do that right here.
Duplex settings. So this is if you want to print on one side or two sides. You just hit this and then you can see the first is what you're putting in. The second is what you're getting now. So if you put in one side documents and you want them to become two side documents just like this, or if you want to say documents become one sided and you select that stapling.
So you select here, if you want, corner or side stapling would choose whichever one you prefer for separate scan. If you turn this on. Basically what it is, is if you have too many documents that won't fit in the document handler. If what you want is one pdf, you can put it in there. It'll scan it for you and then you add.
It'll ask you, Do you want to send this or is there more to scan? You'll say There's more scan or I'm ready to send it. When you scan in more, it'll combine them all into one pdf instead of having two separate PDFs because you don't have enough room. Document handler handled that many pages. Original type text photo or photo printed is what it's defaulted to.
Honestly, you should be able to get clear images if you go photo for just paper or photo paper, dot matrix or something like that. But personally, I don't see a big difference. So this is going to be really up to you combined. So if you want to combine multiple pages into one, you would do that here. Mixed originals.
So if you have things that you're scanning to make a copy, you can go ahead and pick mixed originals. If you have sheets that are different length but the same width or different width at the same length, blank page removal. If you turn this on, if you go ahead and make a copy, any blank pages, say on the backside of a one sided sheet of paper, you will go ahead and remove that for your original size.
Auto Detect. You probably won't need to change this very often, but if you do, you can go ahead and select what size paper that your copy.
All right. Next for scanning email would just touch here. You would select whoever you want. You can select multiple people if you would like, or you could just do one person. Then here is where you can change the skin from color to black and white. The reason you would typically change this is if the file size is too large and you have followers file size restrictions on your email, you might want to switch to black and white.
That way you can reduce the file size a little bit scan size, auto detect. Again, you can select here if you would like to select a certain size of paper that you're scanning. But auto detection, so on is the standard size should detect it perfect for some resolution. So again, we defaulted to 300 by 300. We should be plenty amount of resolution to make the image look crisp.
But if you do need to reduce it down to two by two because you need to reduce that file size again due to email size restrictions, you can do that here. Or if you want to move it up to 600 by 600 because you want something very high def, you can do that as well. All right. So this is where you change the file type.
You can do contact PDF, which is the default, regular PDF, TIFF or JPEG. More file types are available, but those are an additional feature duplex settings. This is where you tell if it's a two sided document or a one sided document, document, name, subject. So this is where you can name the file. You can put a subject in as to where the scan is coming from.
That way, you know what scan is coming to you. It's not just a random series of numbers. Separate scan. This is the same as the copy. So if you need to scan in something to yourself and the document handler can not fit that many pages at one time, but you want all to be as one PDF. You go ahead and read it in your first amount of pages.
The separate scan also ask you if you want to continue and then you'll say yes. You're scanning your next pages and then you'll see done and it will send it all to your email as one picture mixed size originals is just like the copy screen. So again, same with different blank page removal. So again, if you have a one sided document, you want all the blank pages to be removed.
You can go ahead and turn this on and or move them all for you density. You need something darker or lighter. You can do that here by changing the density, original type. As we said before, things are supposed to come out a little clearer if you say you know a photo or if you do a dot matrix. But honestly, my eyes cannot see a difference between the difference.
So now we're going to show you the copy screen under the classic style. So you just take copy and you'll see it's all the same features as you had before. When we went to the basic screen, they're just laid out a little differently. So here's where you do color or black and white. All the color. Again, you don't want to choose full color paper source.
So here's where you choose. If you want to go to any other paper source and then auto zooms. So if you have any presets, the paper size you want to switch to. So if you want to take an 11 by 17 and switch to a half by 11 or vice versa. Basically you can do that switch switches automatically or you can just get a little bit at a time if you chose or something up book or decrease it a little bit.
There's your duplexing combining. So again, there's just one side to one, one, 2 to 2, two, two, one. And then you're combining is actually in here as well. And finally you're finished finishing. So this is where you do your grouping sorting corner or two position stapled.
Okay. So now we're going to go over the scan screen on the classic UI. So you would just select whichever scan you want to go to. So if you were just Jason would select Jason scanned a more if you wanted at one time. So as you can see here are all the same features that we discussed on the basic screen.
They're just laid out a little differently. So here's your one side or two sides so you can change that. There is your resolution. If you need to change that color or black or white scan, here's where you choose the file type. If you want to change it from time type. Yeah. Here's where you would change the file name or the subject so you'd be able to name your scans every having a random number or letters.
And then here's where you do a separate scan. If you want to combine multiple scans into one.
Thank you for watching our short video on the basic training of the Canon i III Series. If you want to learn more, head to Cobb Technologies DOT com.

3 min read
Cobb Technologies has been honored as one of the 2025 Best Places to Work in Virginia by Virginia Business and Best Companies Group. This prestigious...

5 min read
Cobb Technologies is honored to hold the SWaM (Small, Women-owned, and Minority-owned Business) certification, awarded by the Commonwealth of...

5 min read
Every year, thousands of Veterans transition from military service to civilian careers in Virginia, bringing invaluable skills and experiences to...
